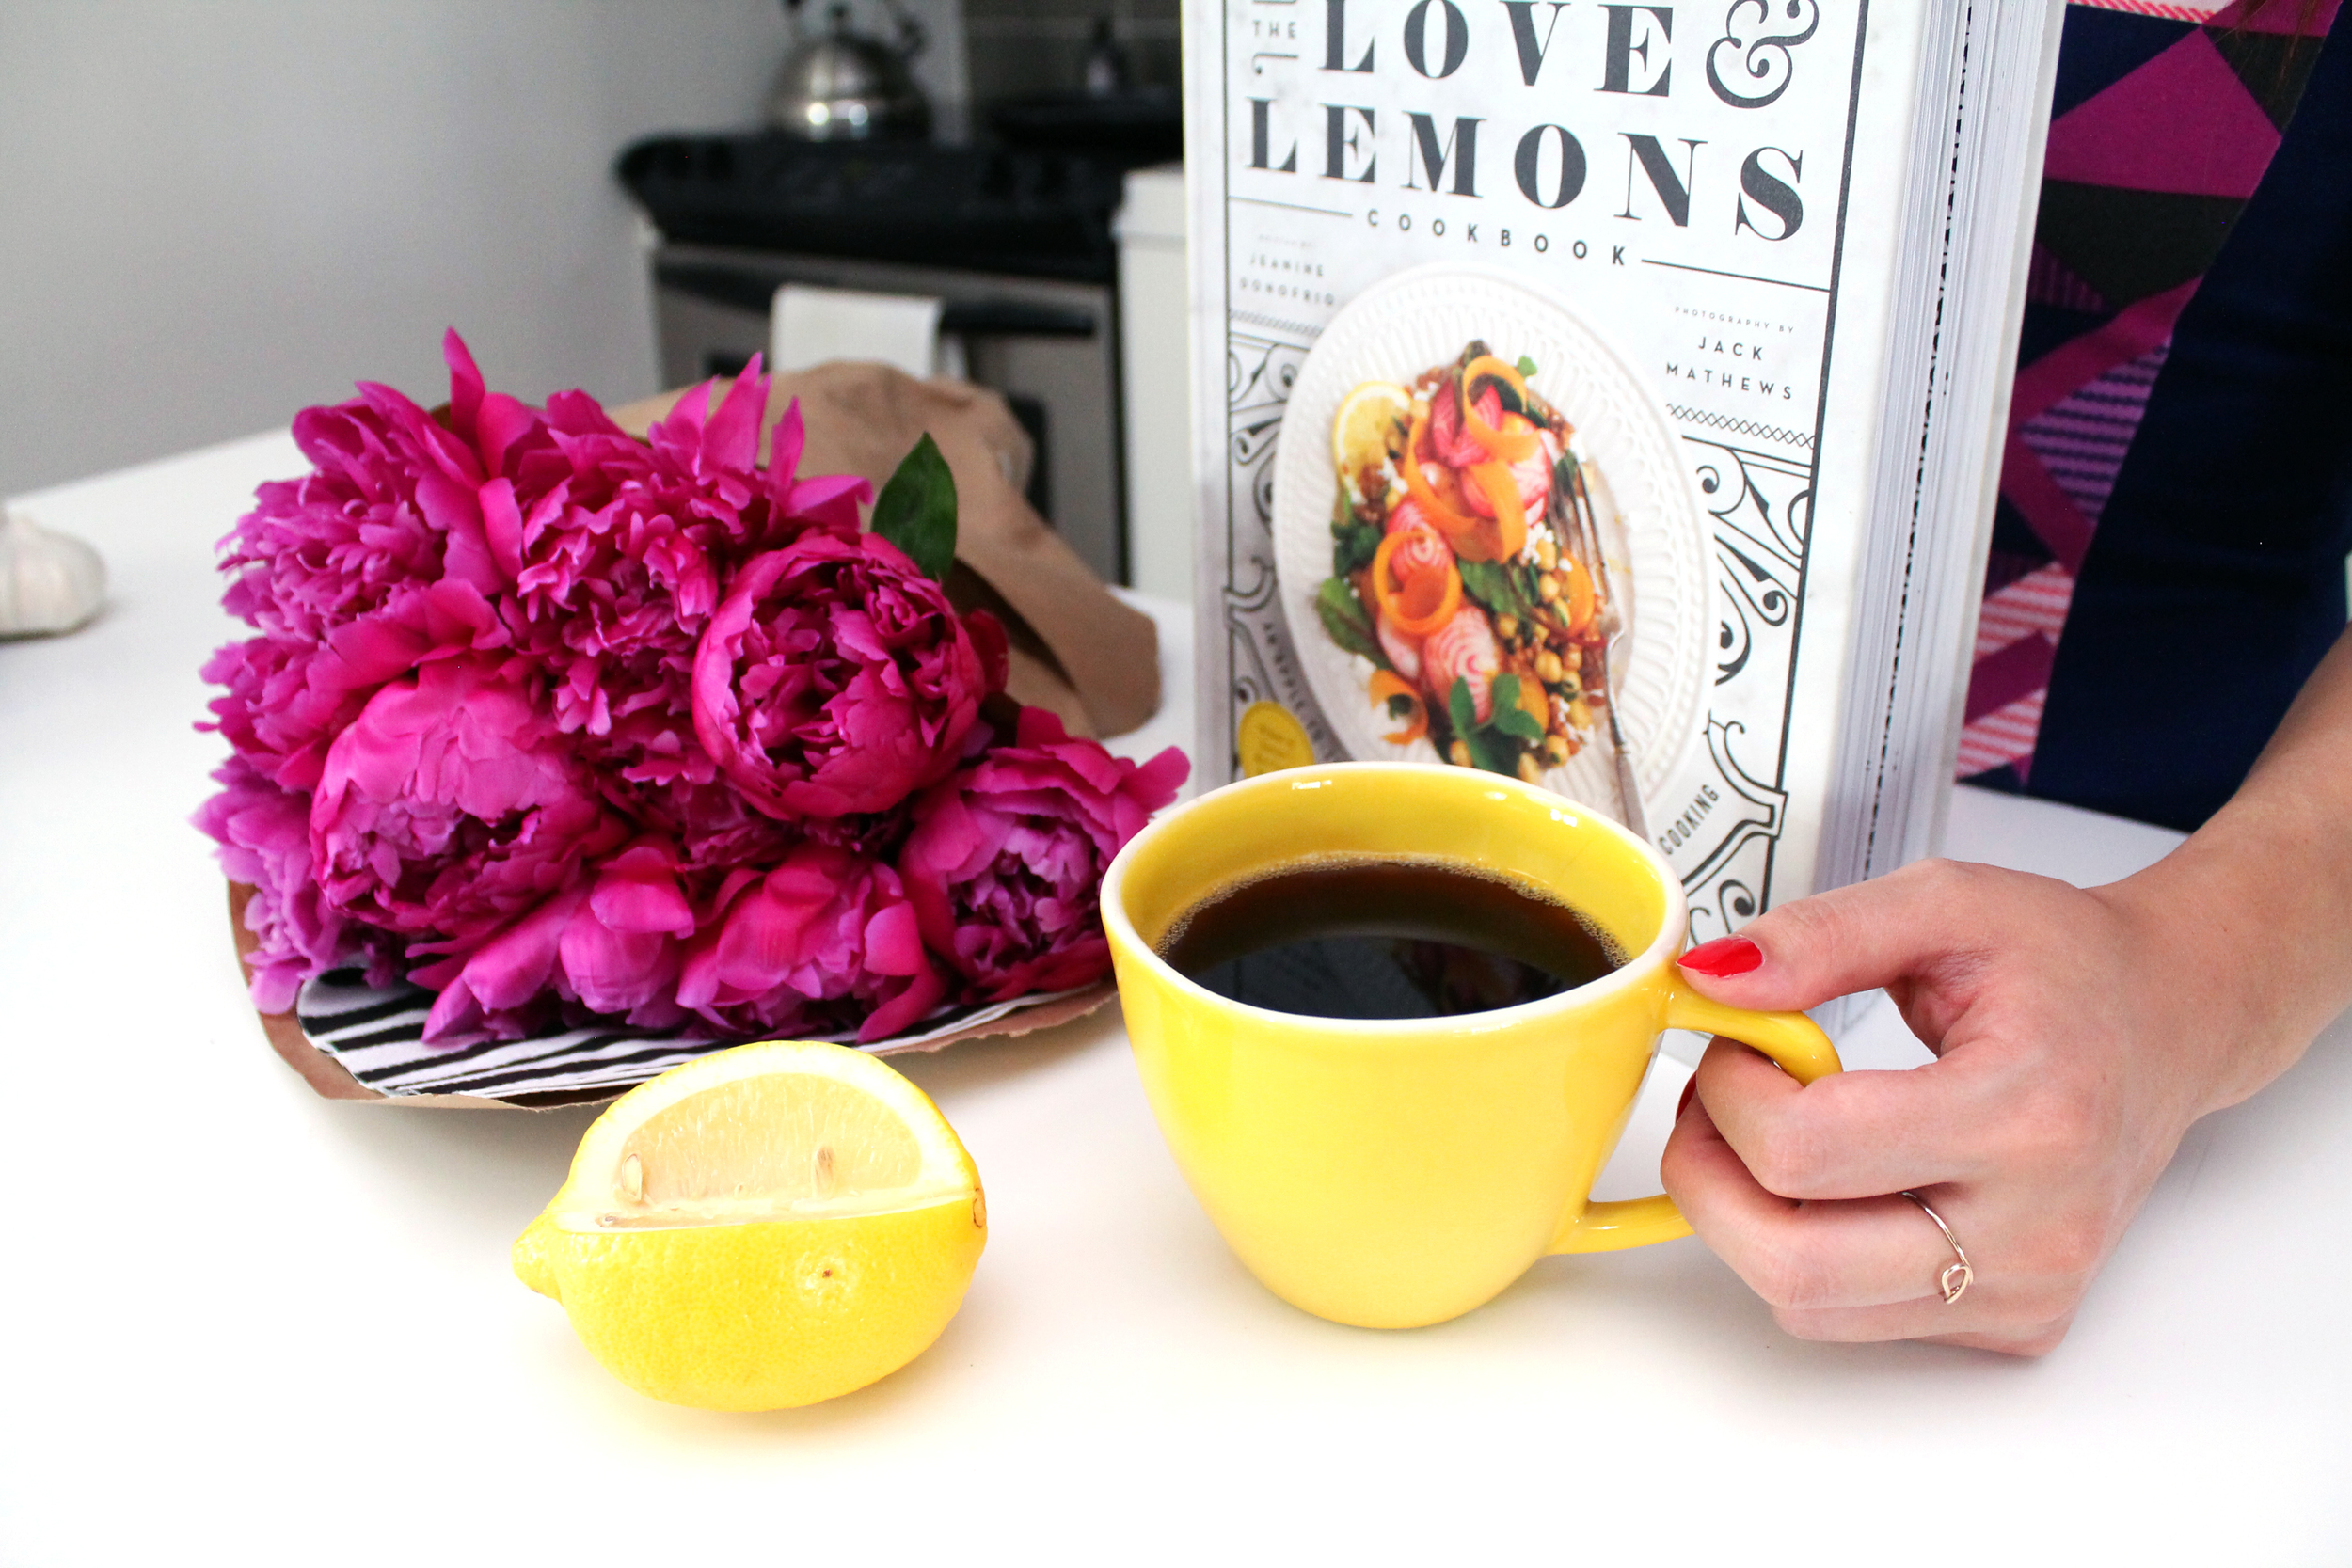
Love and Lemons (not to be confused with the lingerie brand) is not only a popular food blog but is now a gorgeous hardcover cookbook. I recently met Jeanine, the creator of the blog and book, at an event at Indigo's home office in Toronto. She made a couple quick recipes for us to sample and I was impressed by how fresh and bright everything was. I got a copy of the book (yay!) which she kindly signed for me.
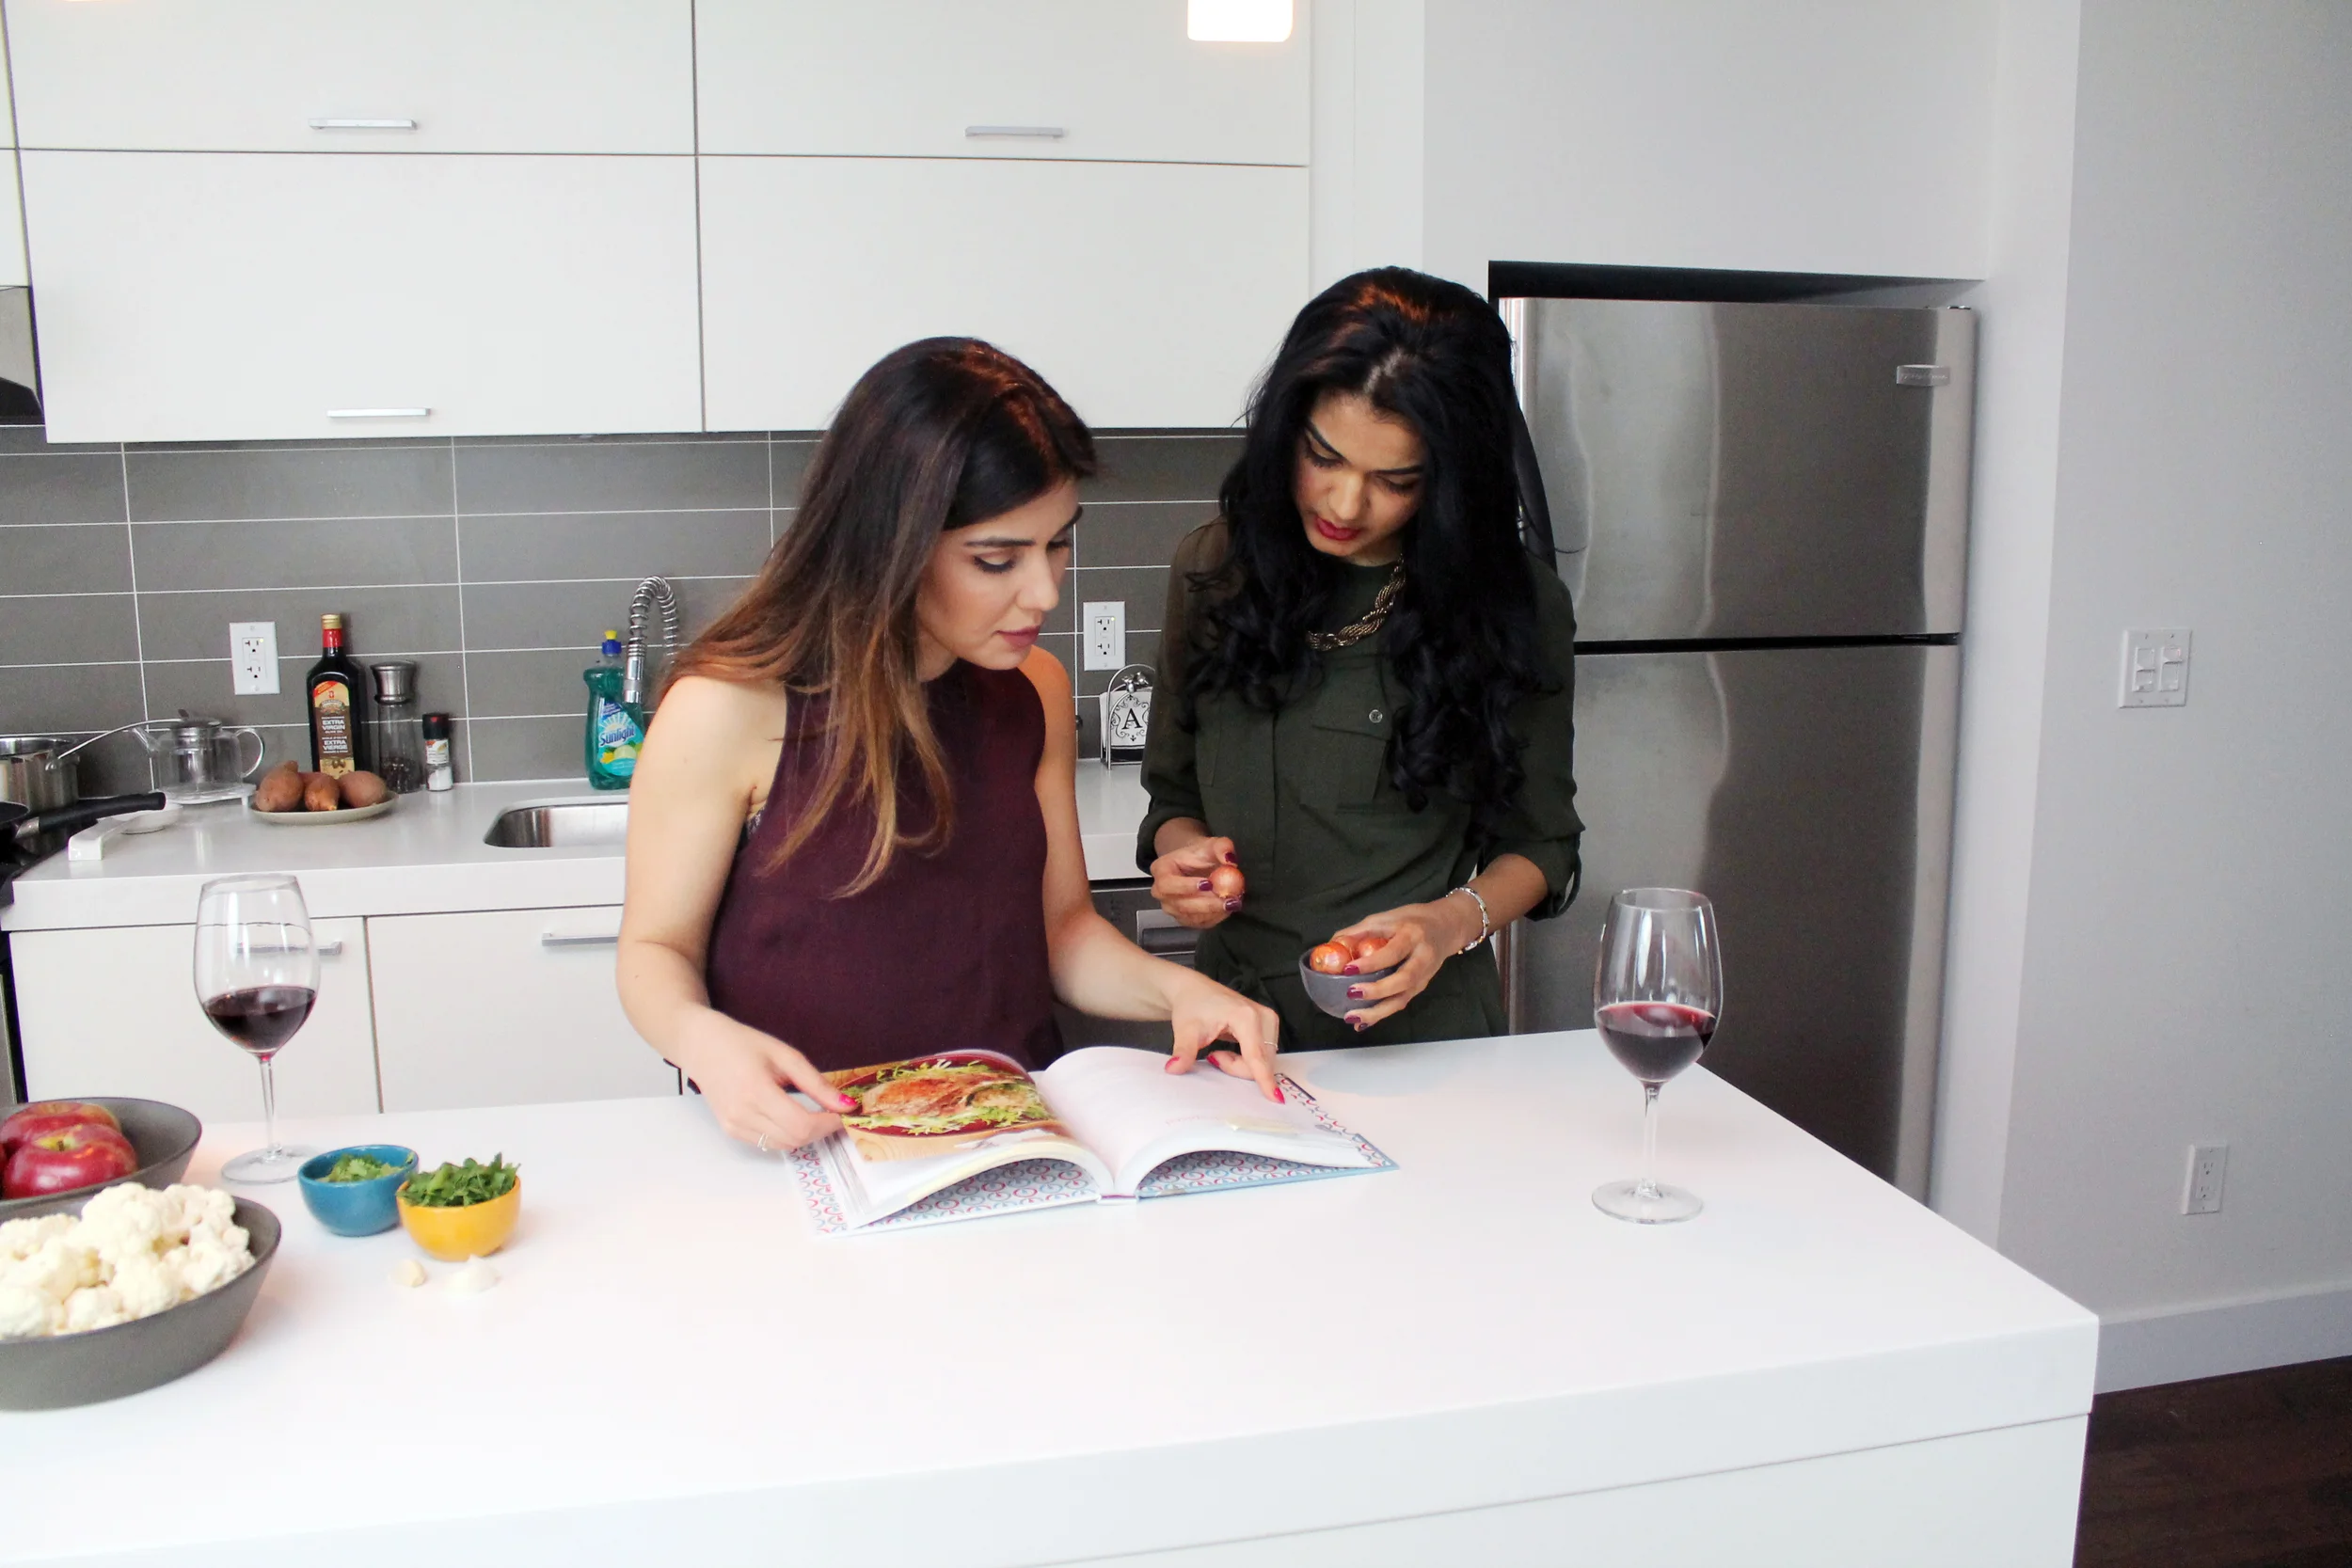
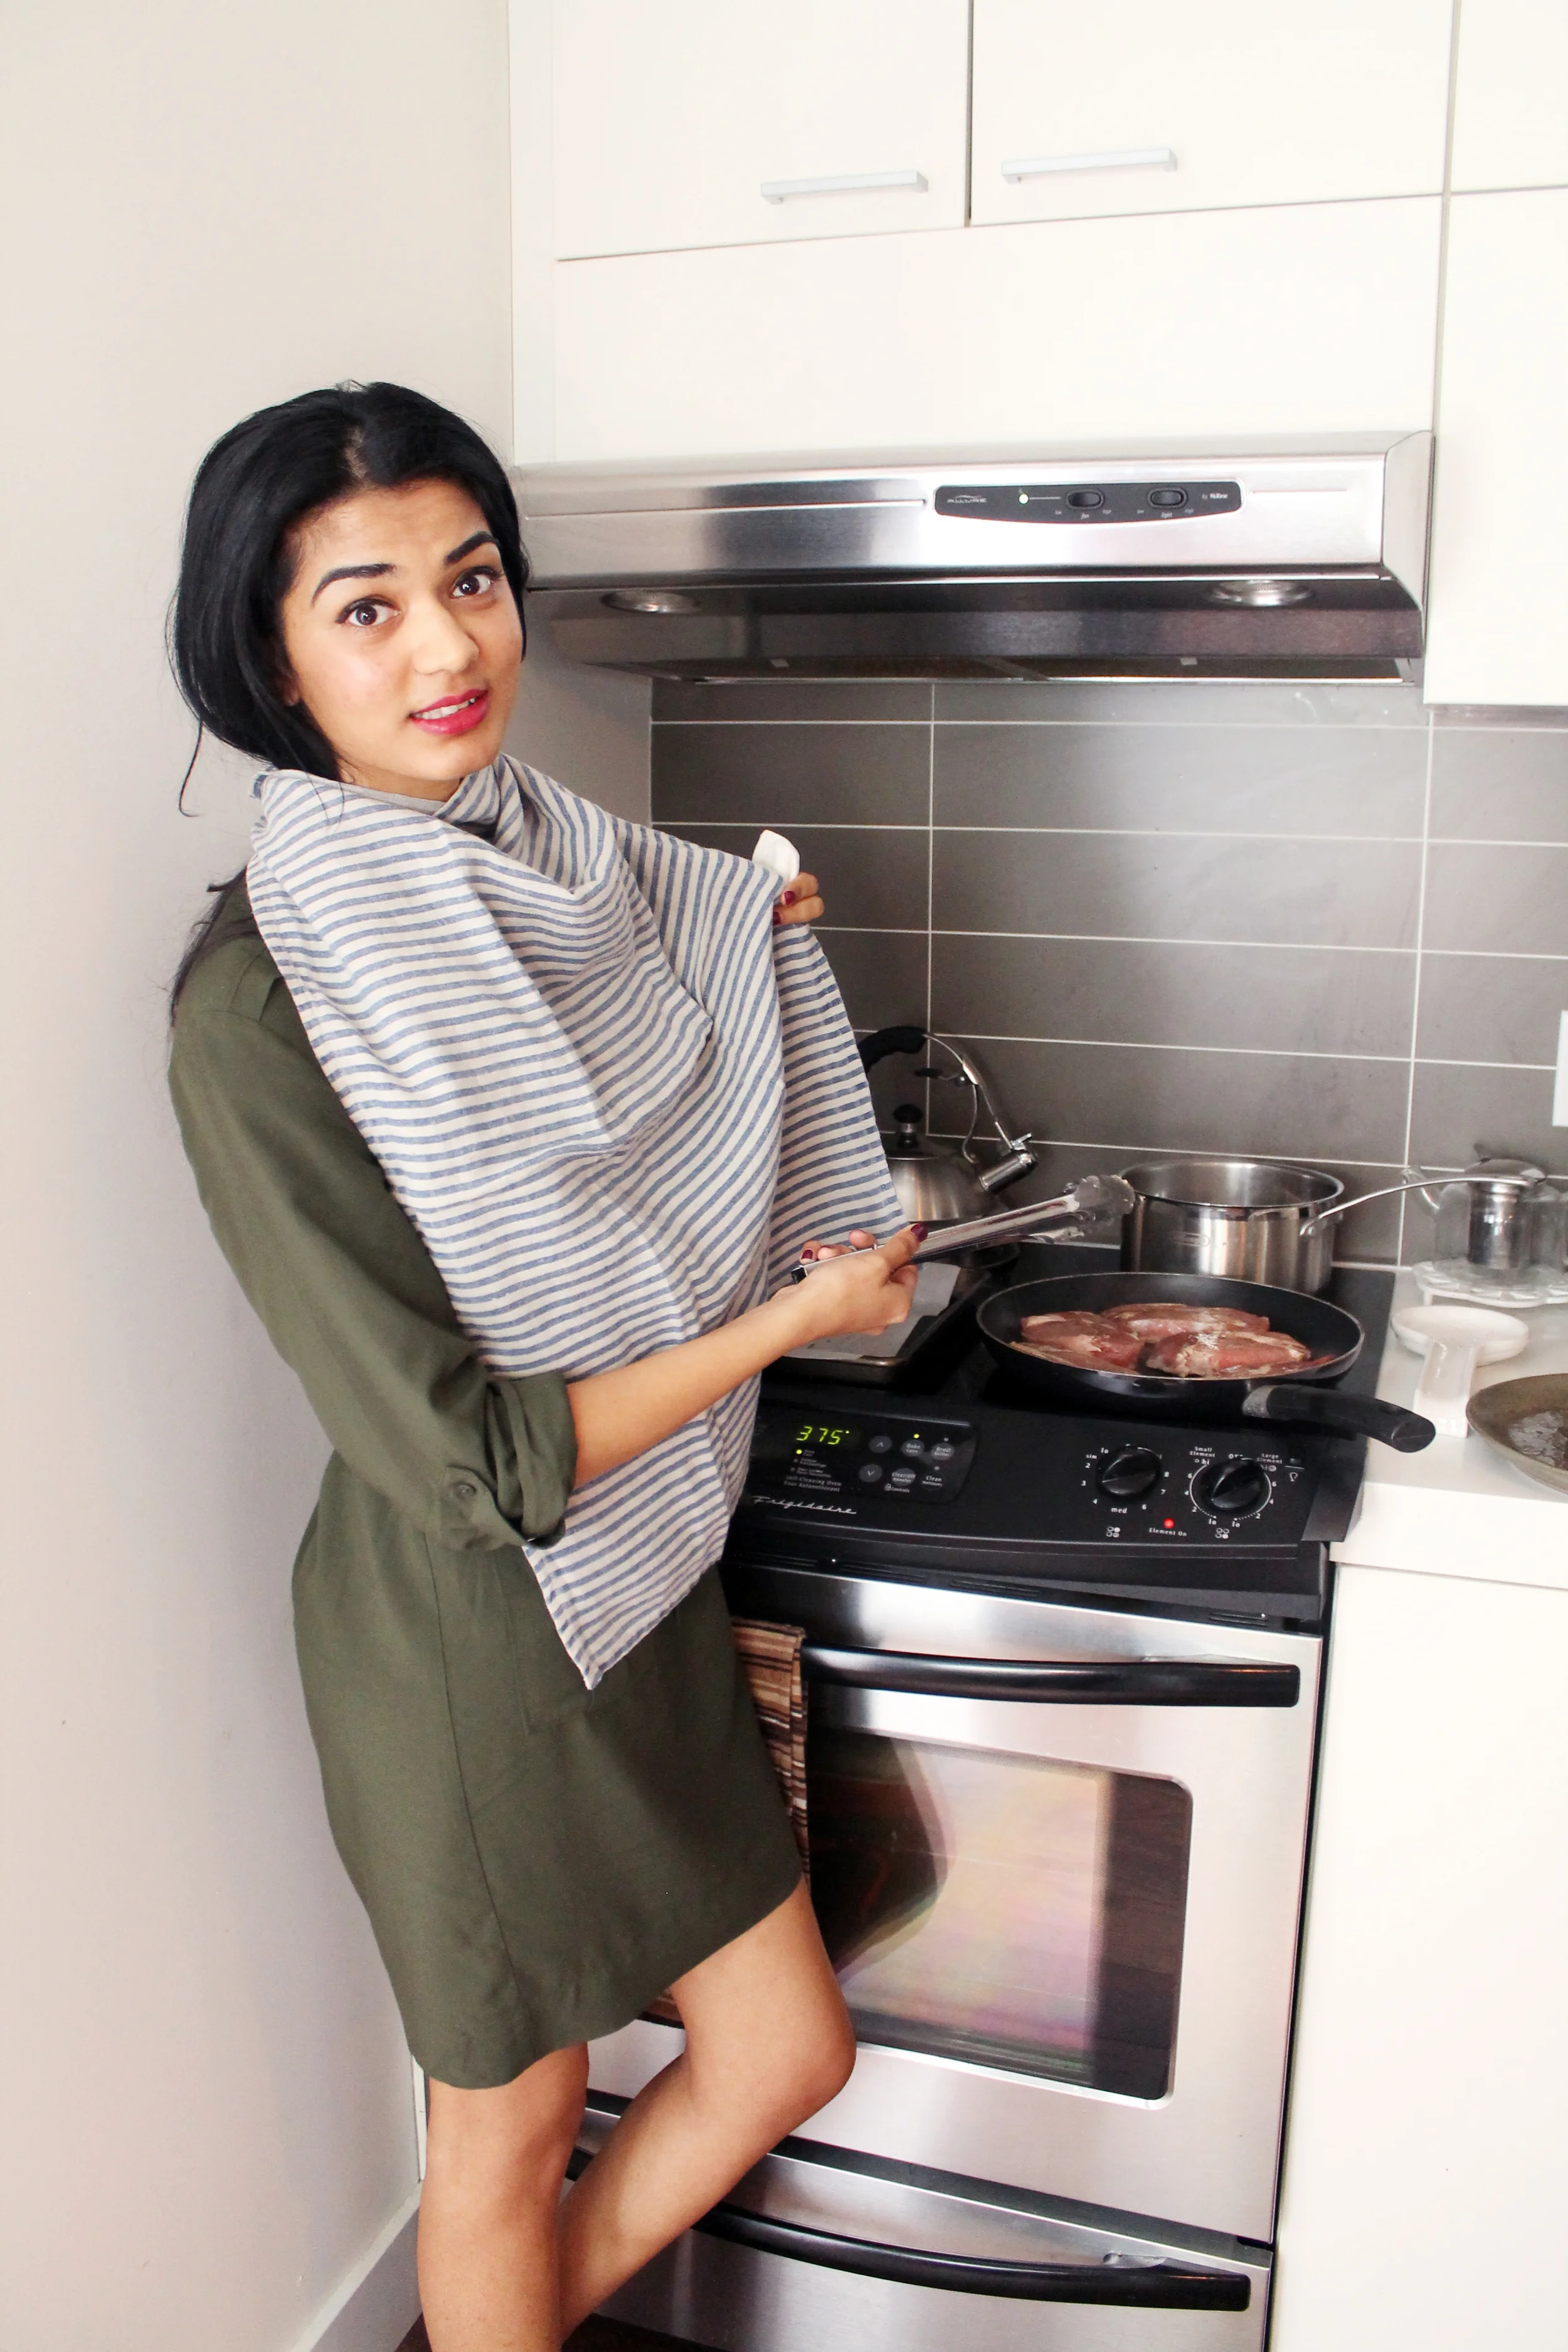
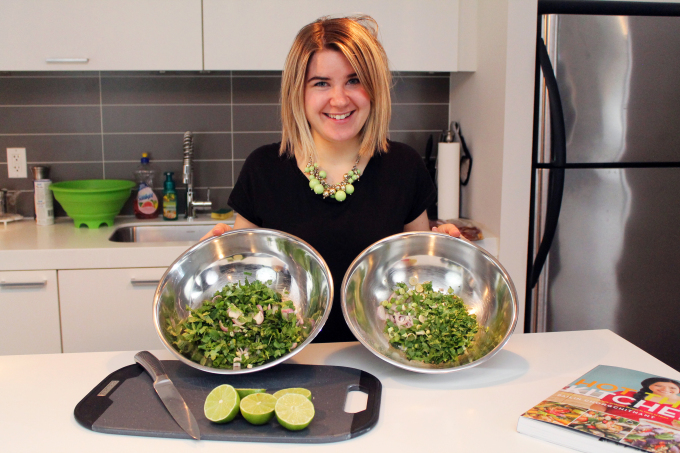
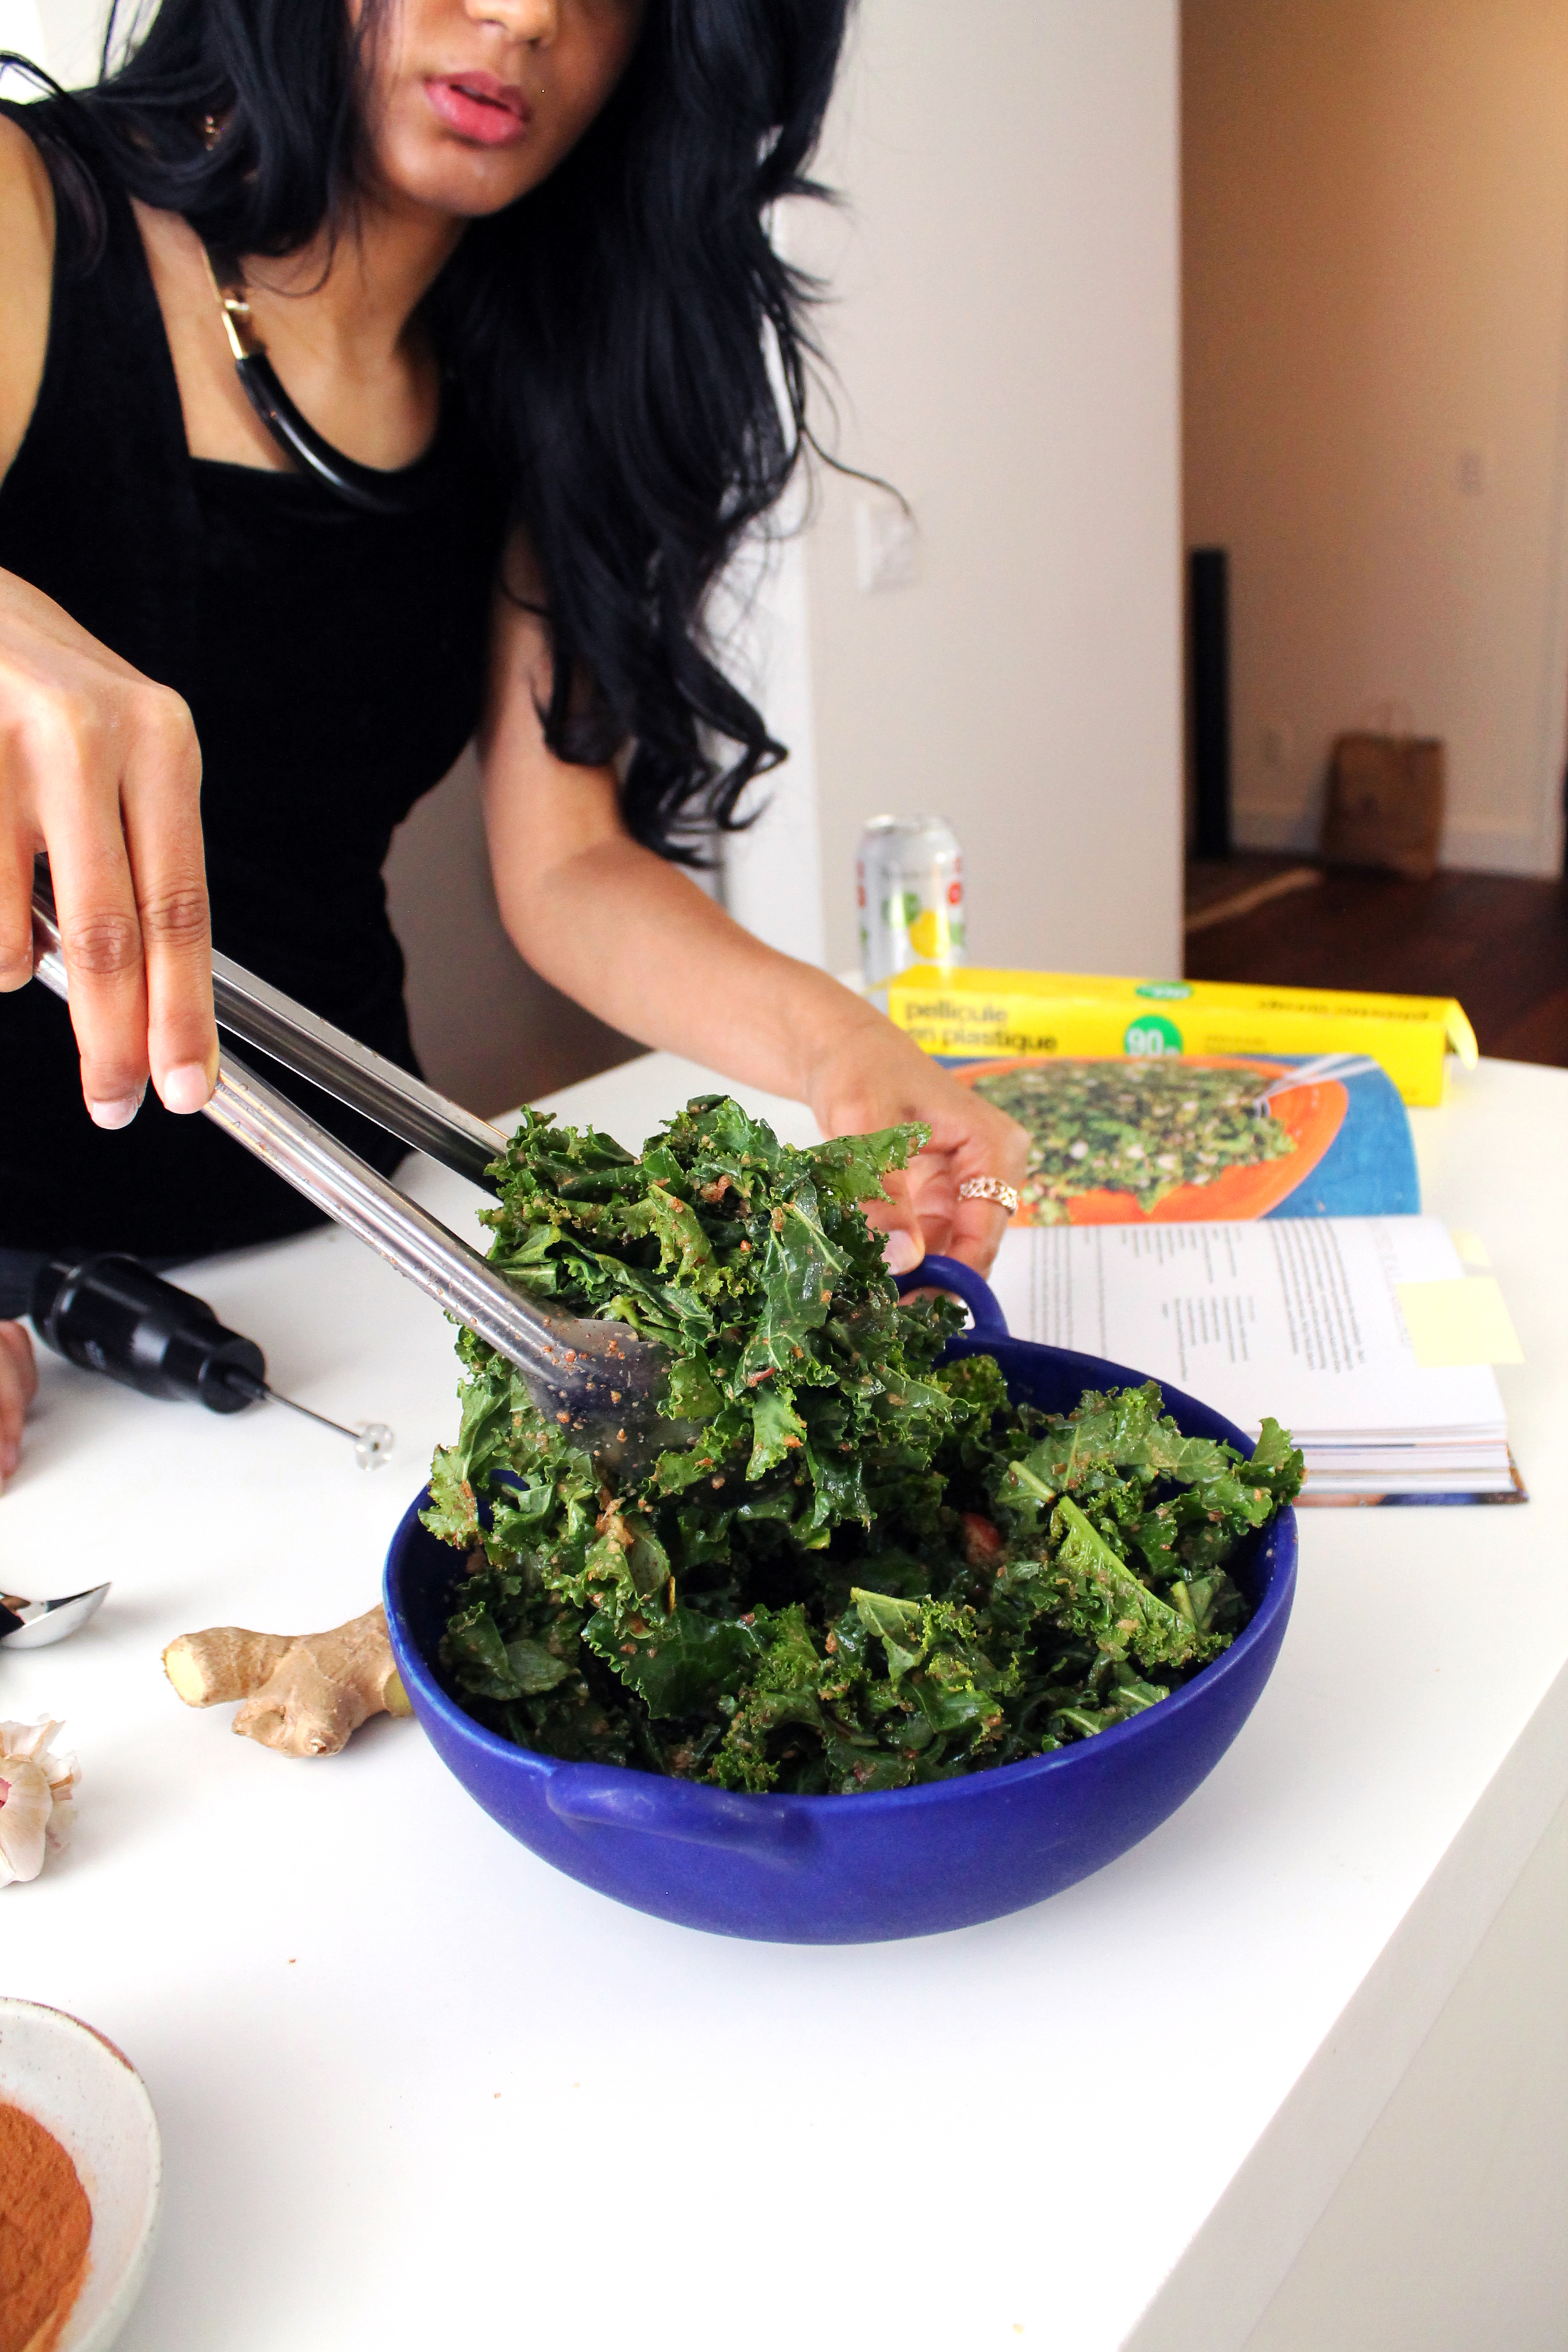
Skimming through the recipes I was looking for something allergy-friendly of course, but also something I could make using ingredients I already had in my fridge and pantry. Karrie, star of Guy & Girl Nerd Duo and writer of the lifestyle site Karrie Kwong (above) is a very beginner cook so I made sure to select recipes that were foolproof and fast. Cooking outside your comfort zone is a great way to expand your knowledge, but in this case we were just looking to have fun and enjoy a delicious meal together. I chose two recipes; Coconut Rice with Brussel Sprouts, and Veggie Ceviche.
Coconut Rice with Brussel Sprouts


I love how green this recipe is. So healthy, quick, and easy. In case you haven't heard, plates are out and bowls are in. Vegan bowls, smoothie bowls, rice bowls; they're trending. I highly suggest you buy a small cat bowl like the one pictured above, because it's just so damn cute.
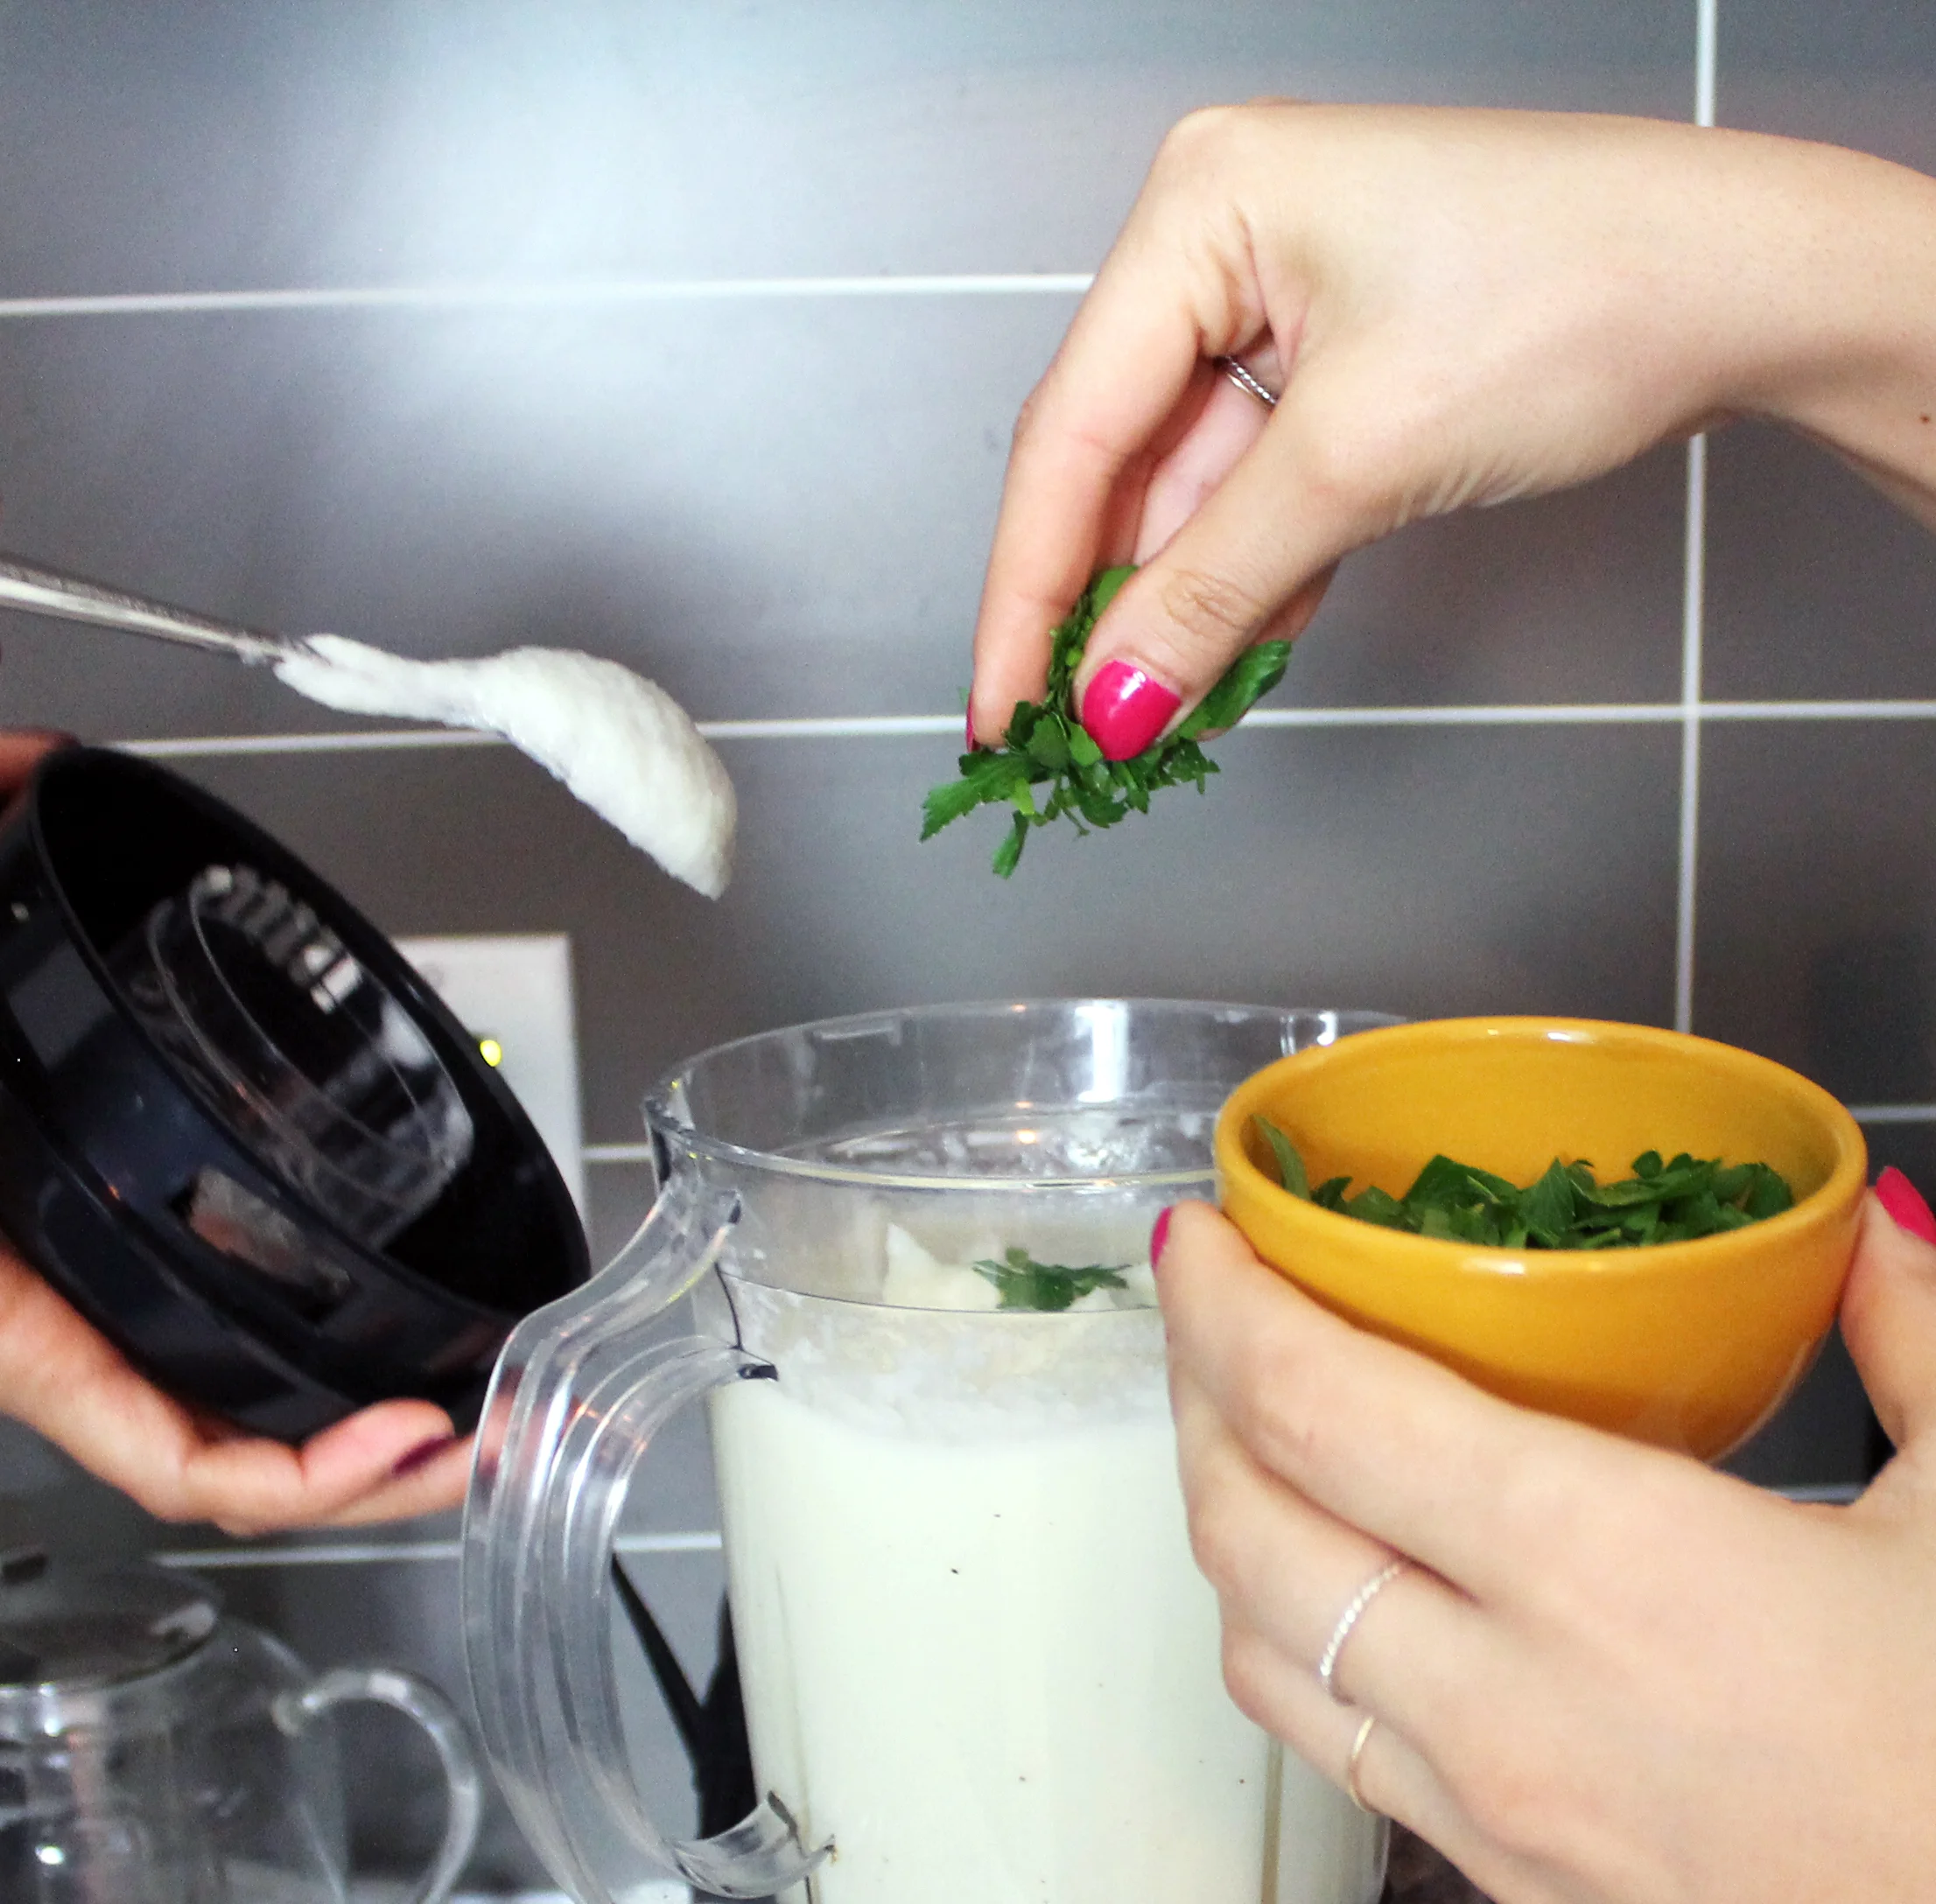
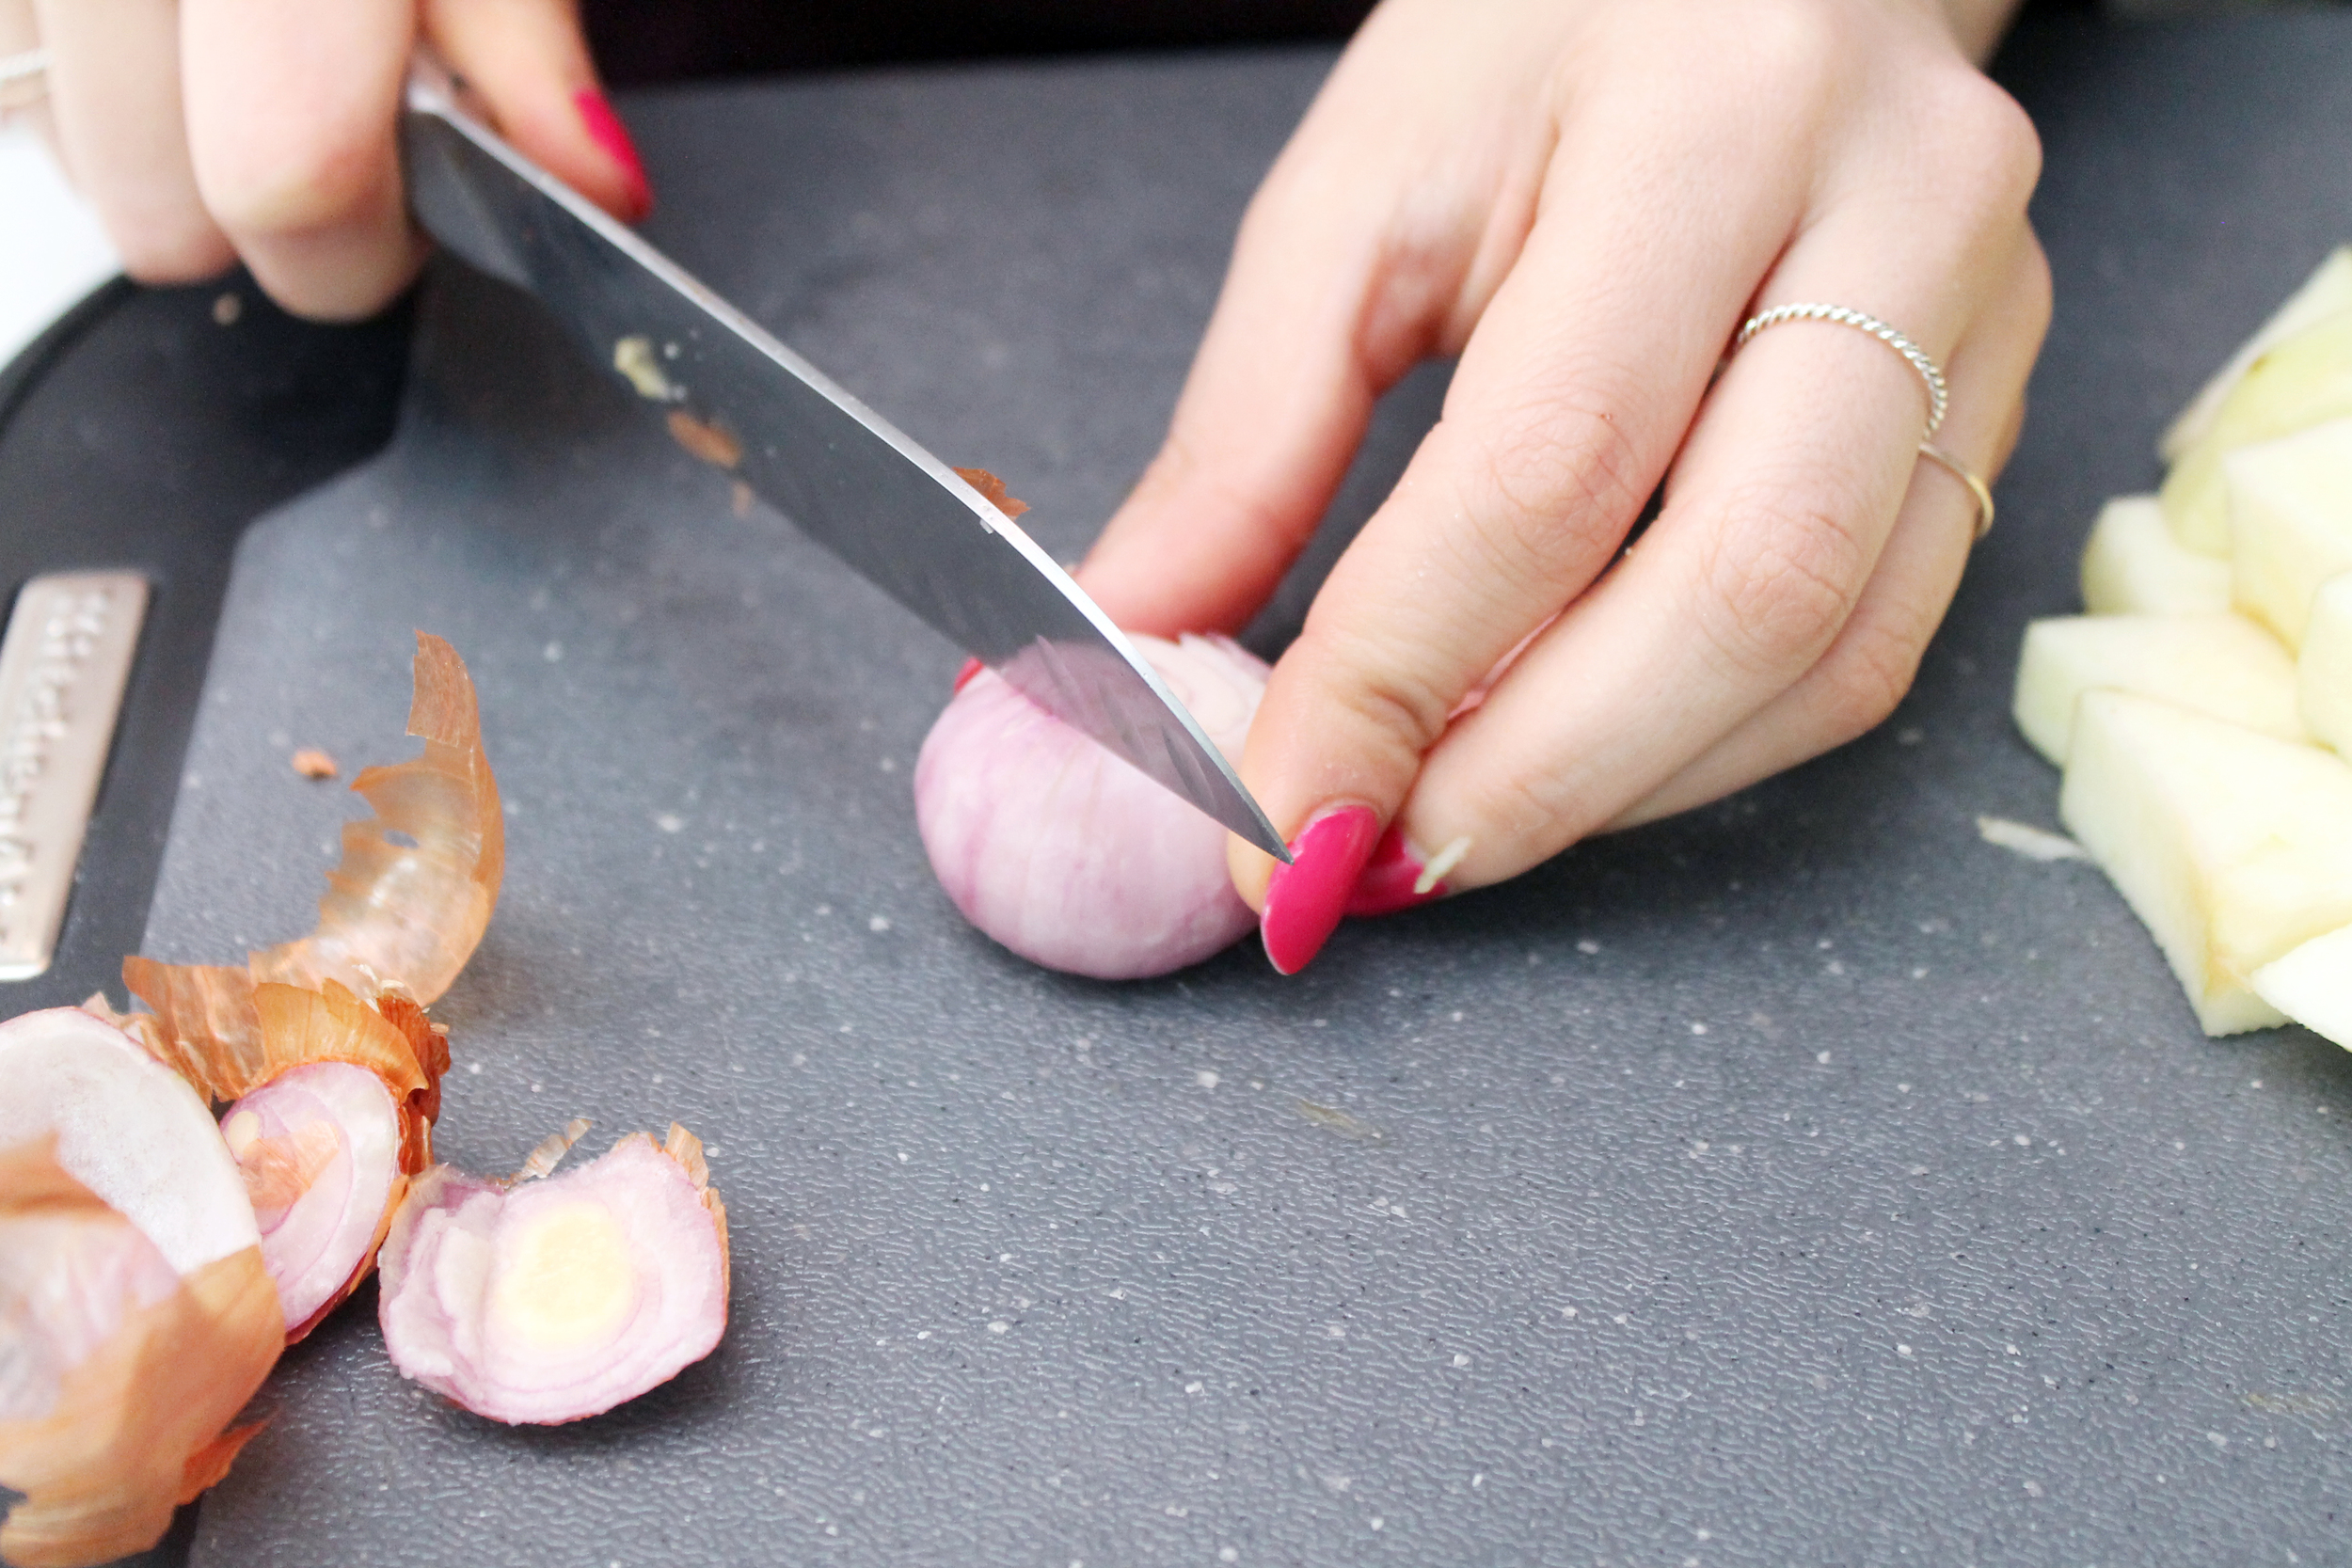
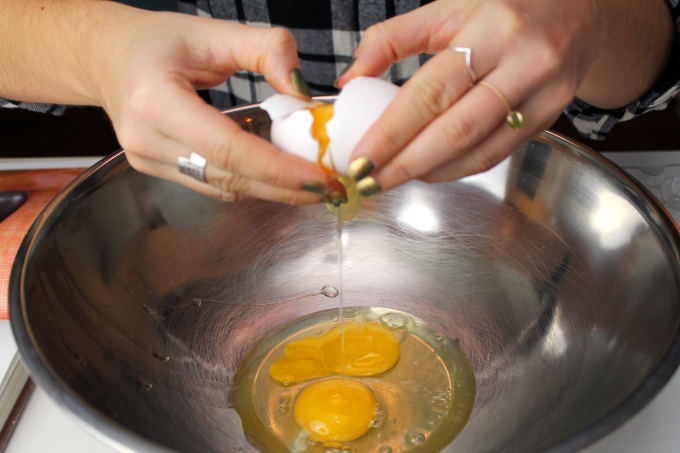
Karrie chopped up the green onion, basil, chili, and avocado, then peeled the Brussel sprouts and cut them in half. She fried them lightly in coconut oil until the sides were golden brown, then whipped up the tangy dressing. The rice was cooked in coconut milk which not only means you get the health benefits of coconut but the taste and richness too. She piled a couple spoons of rice into a deep bowl and then added all the veggies. Jeanine suggests adding other veggies such as asparagus to the bowl. I would definitely do that next time as I felt like I was left wanting for more green and more crunch, despite the recipe being quite satisfying. I think adding more variety would also bulk it up a bit and make it more filling for dinner.

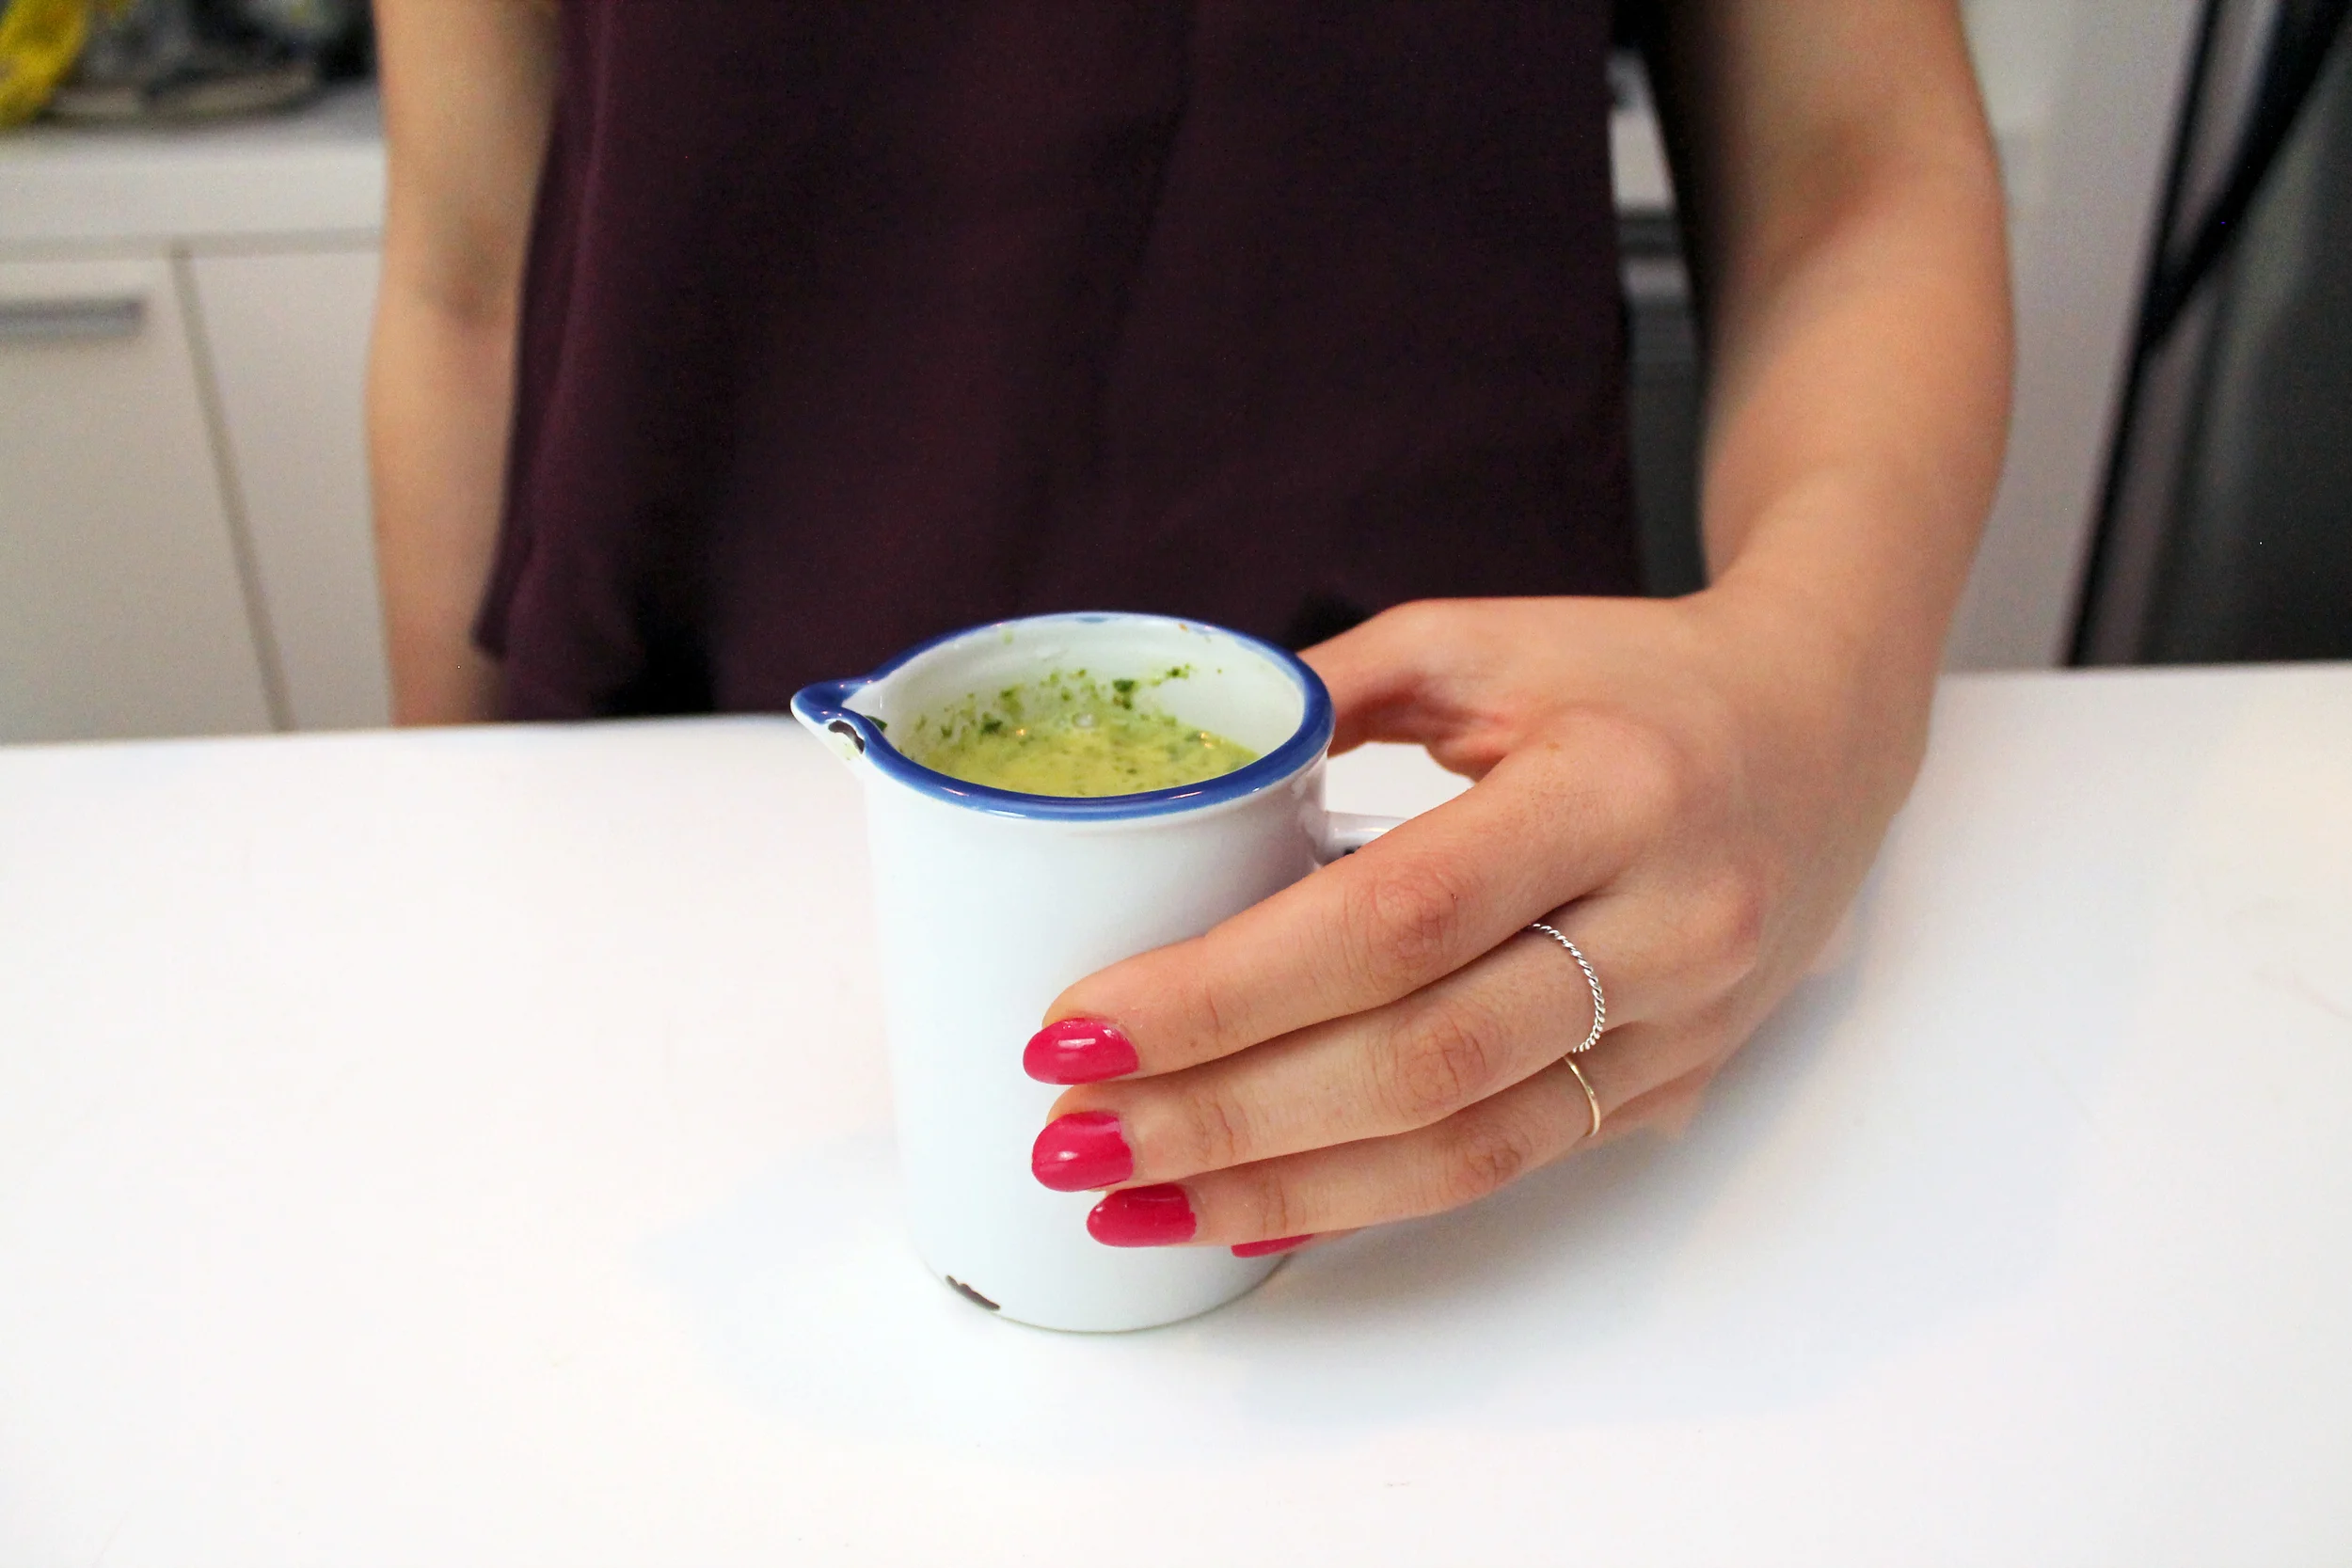
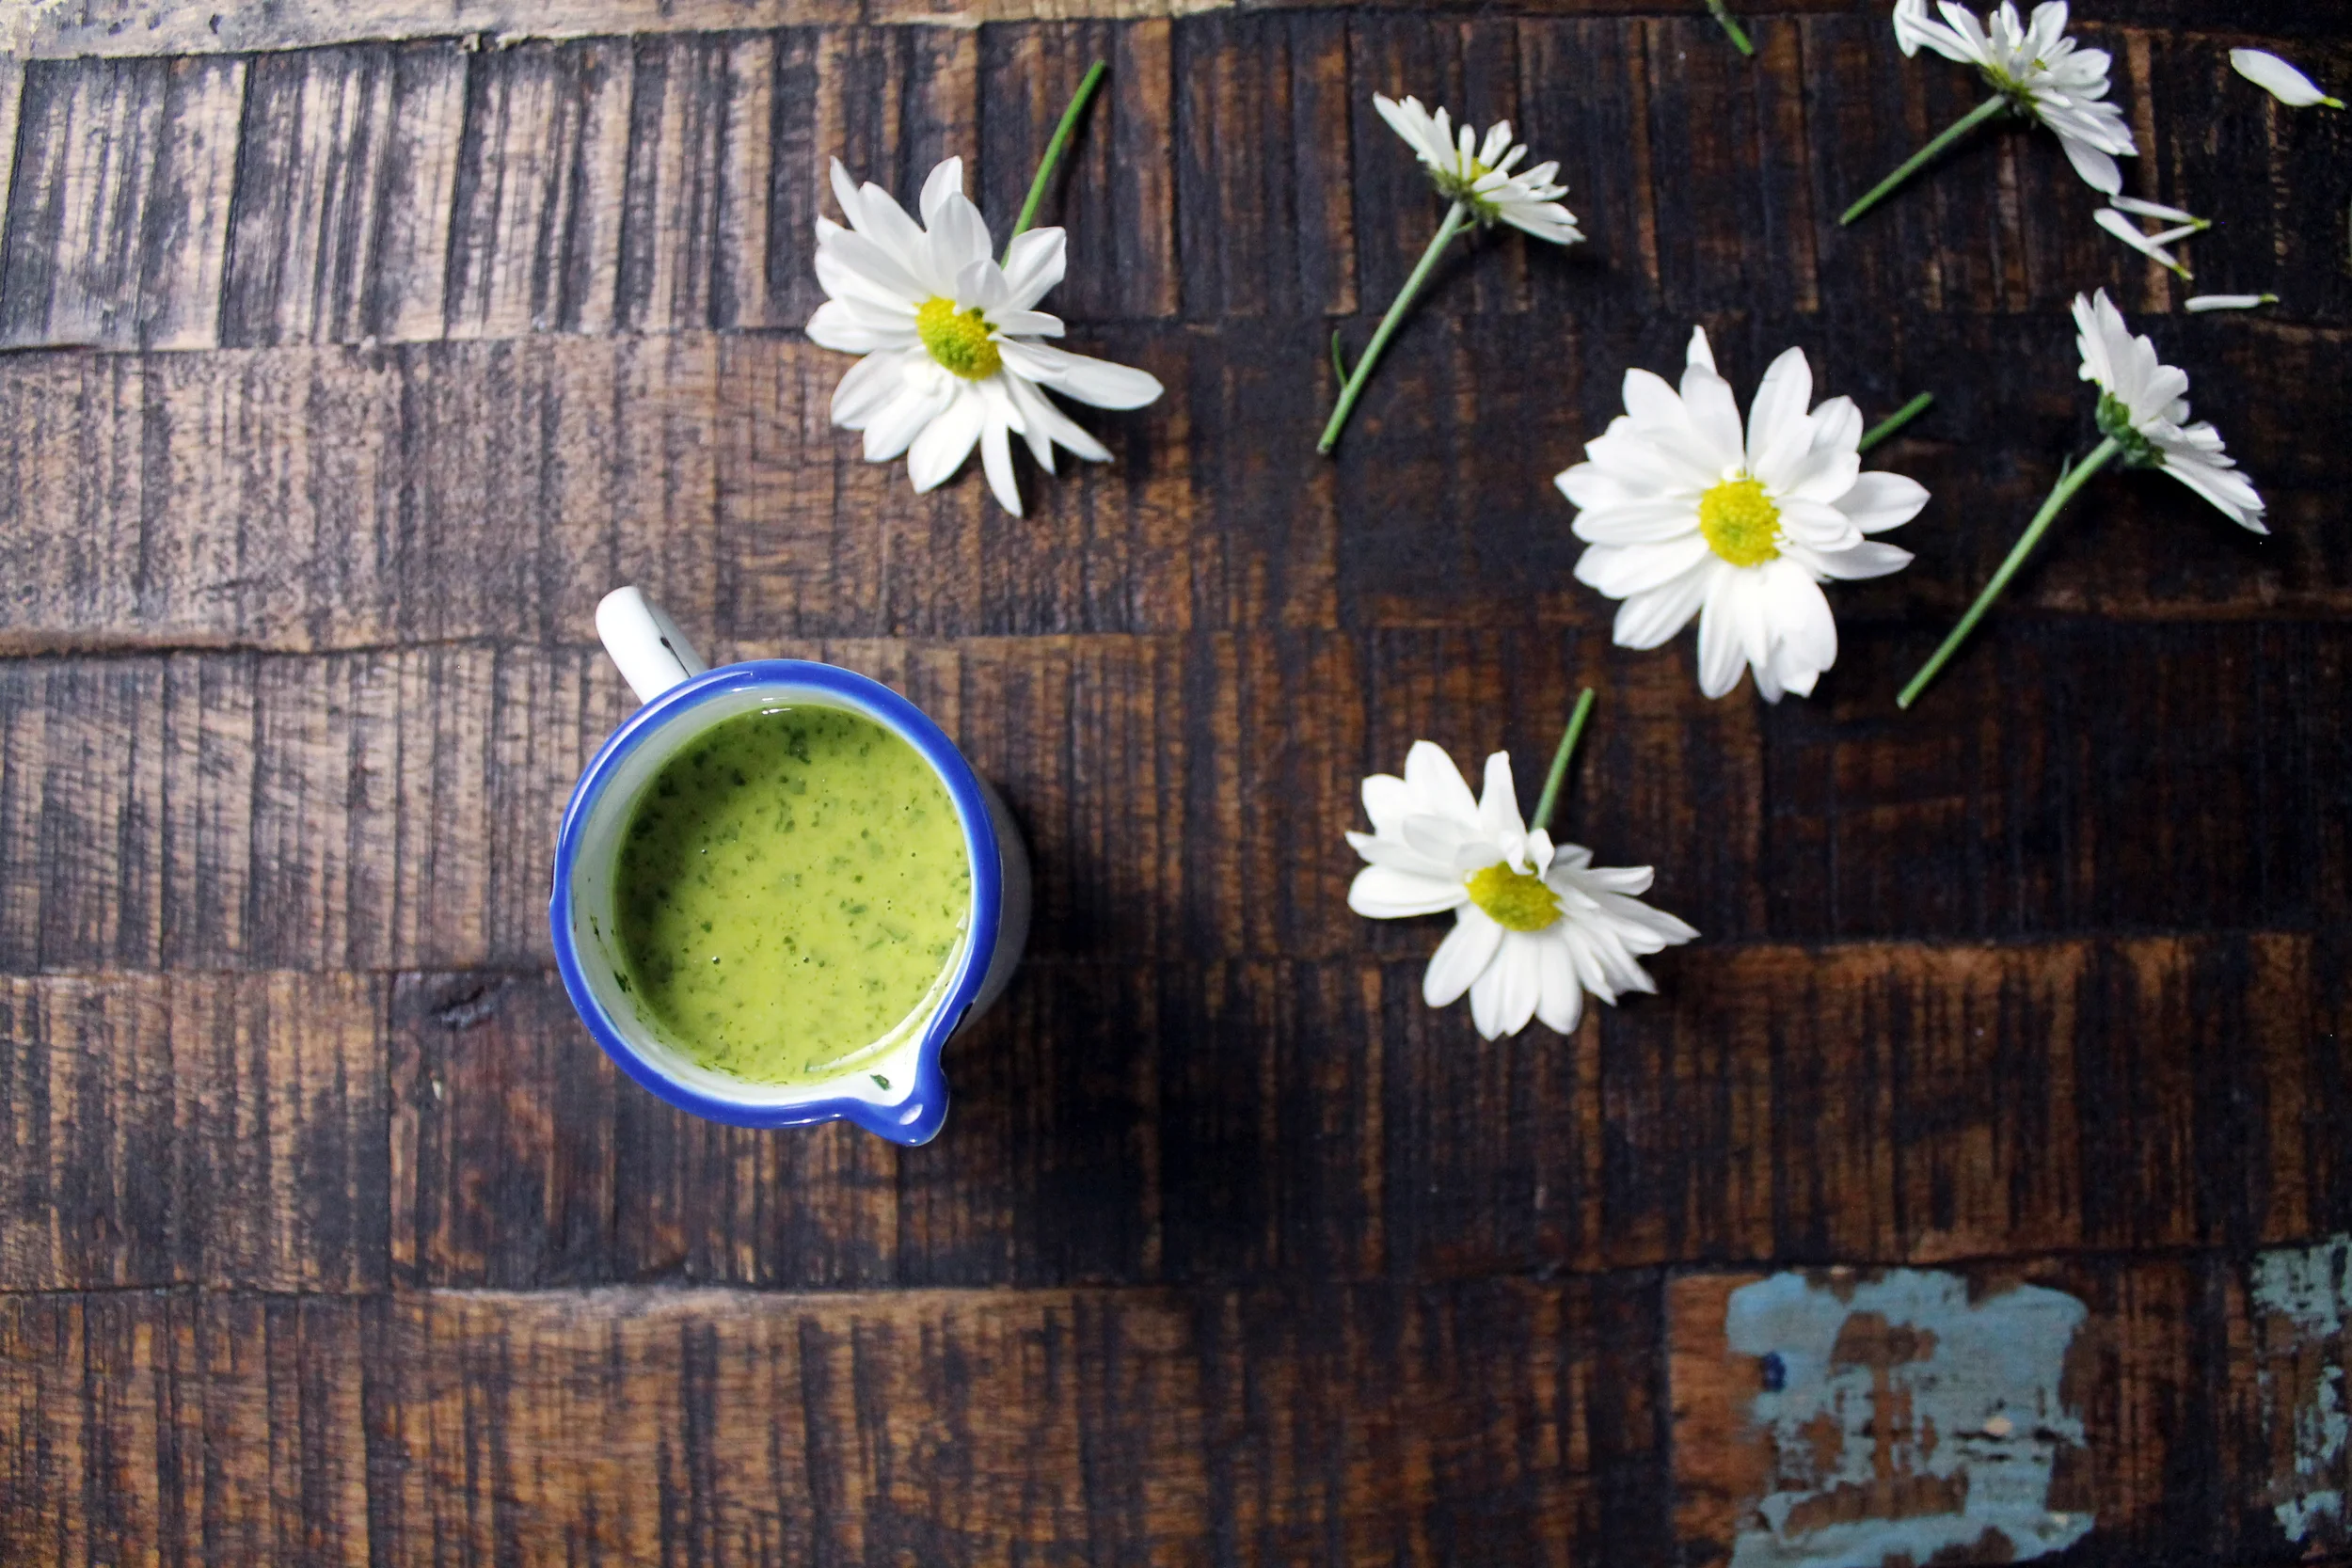
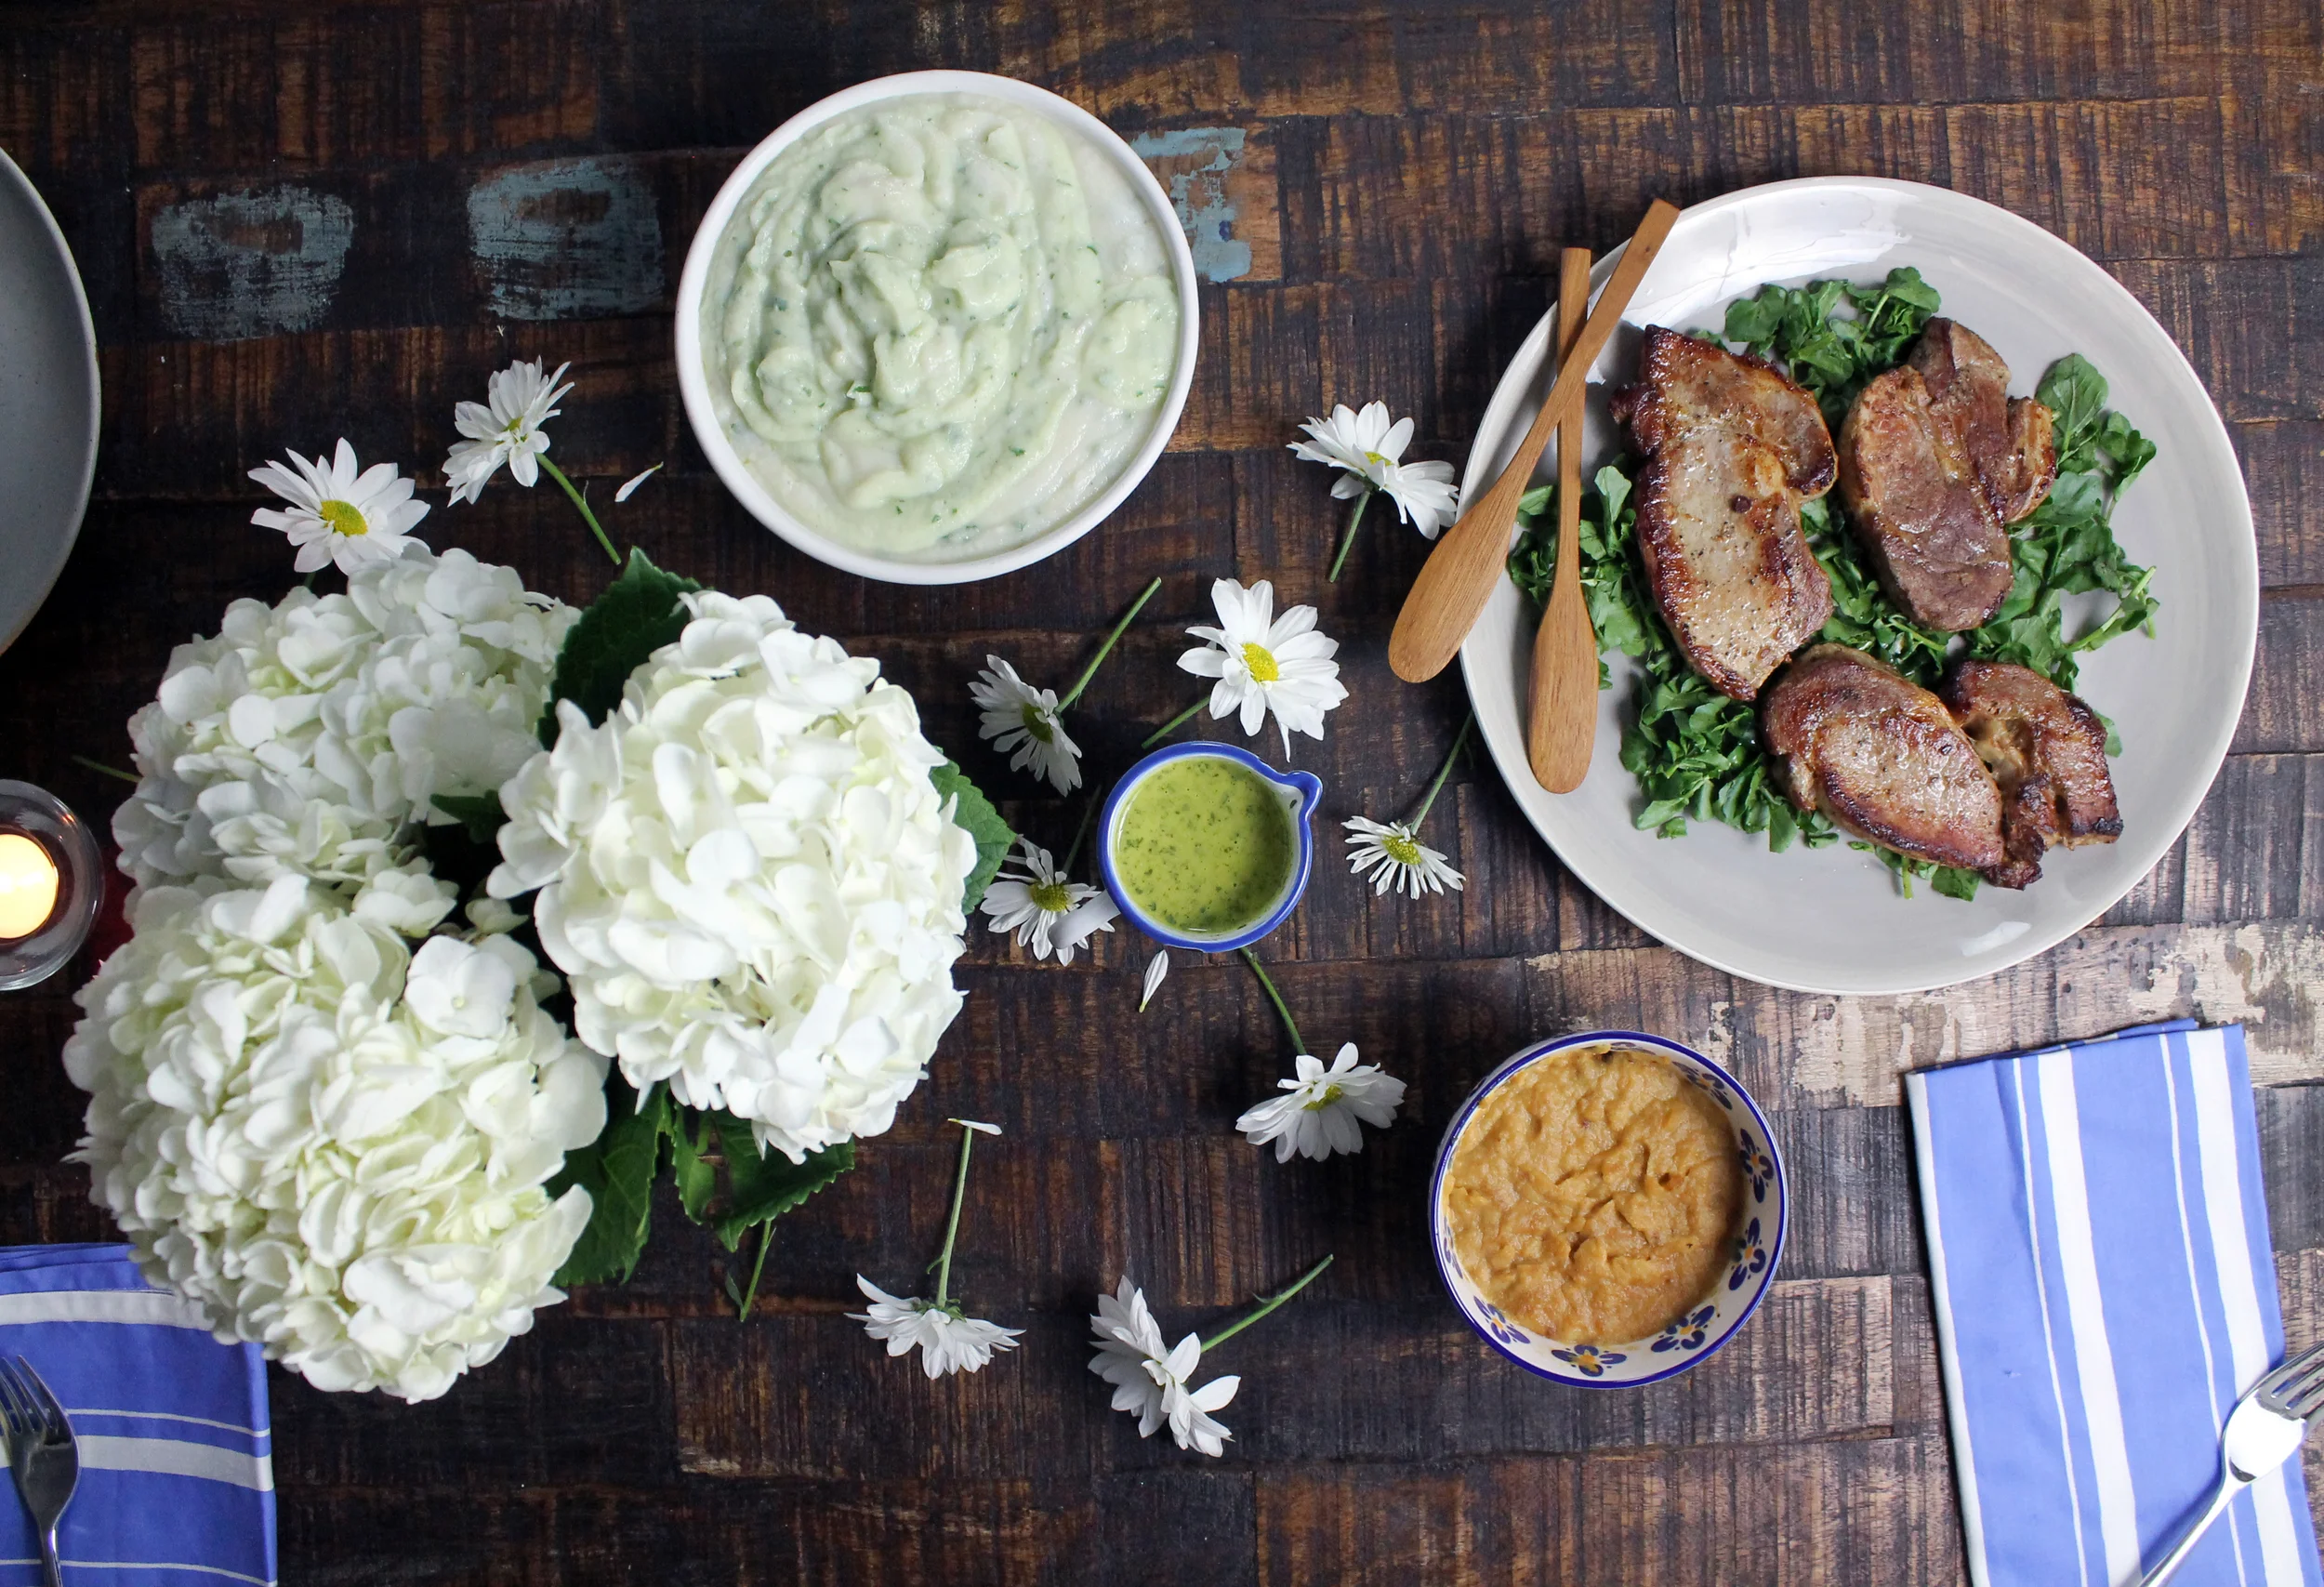
Veggie Ceviche
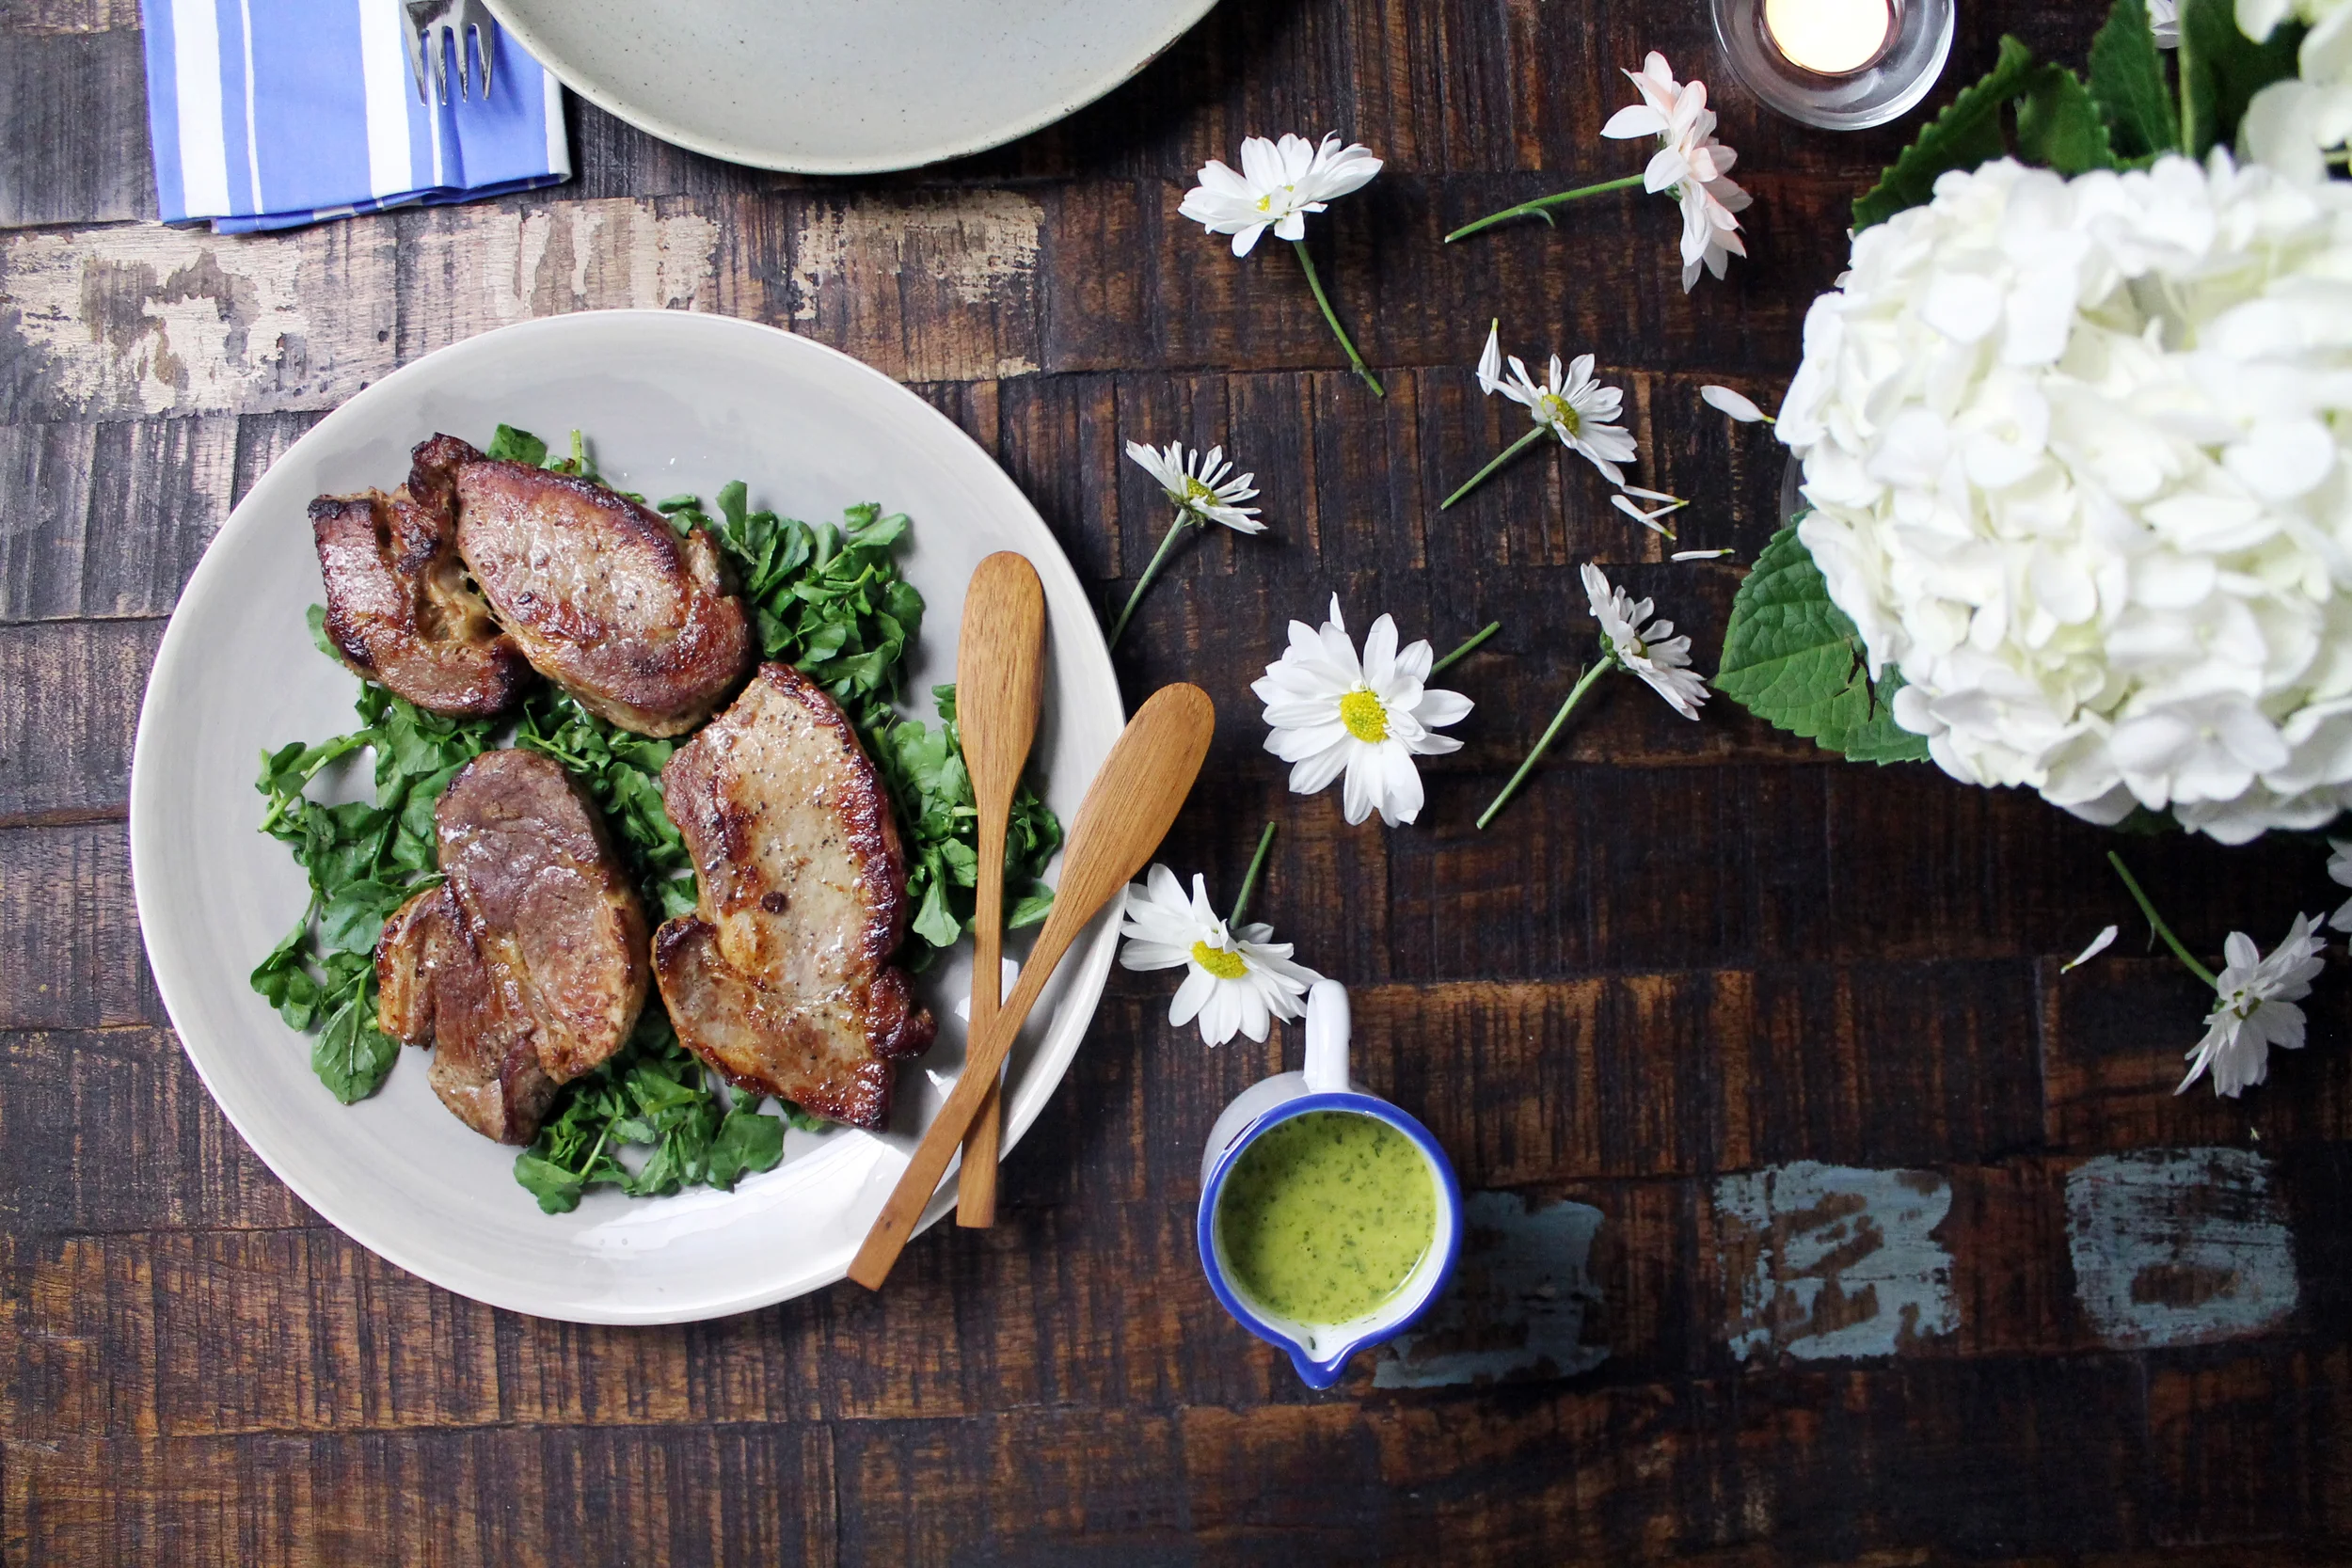
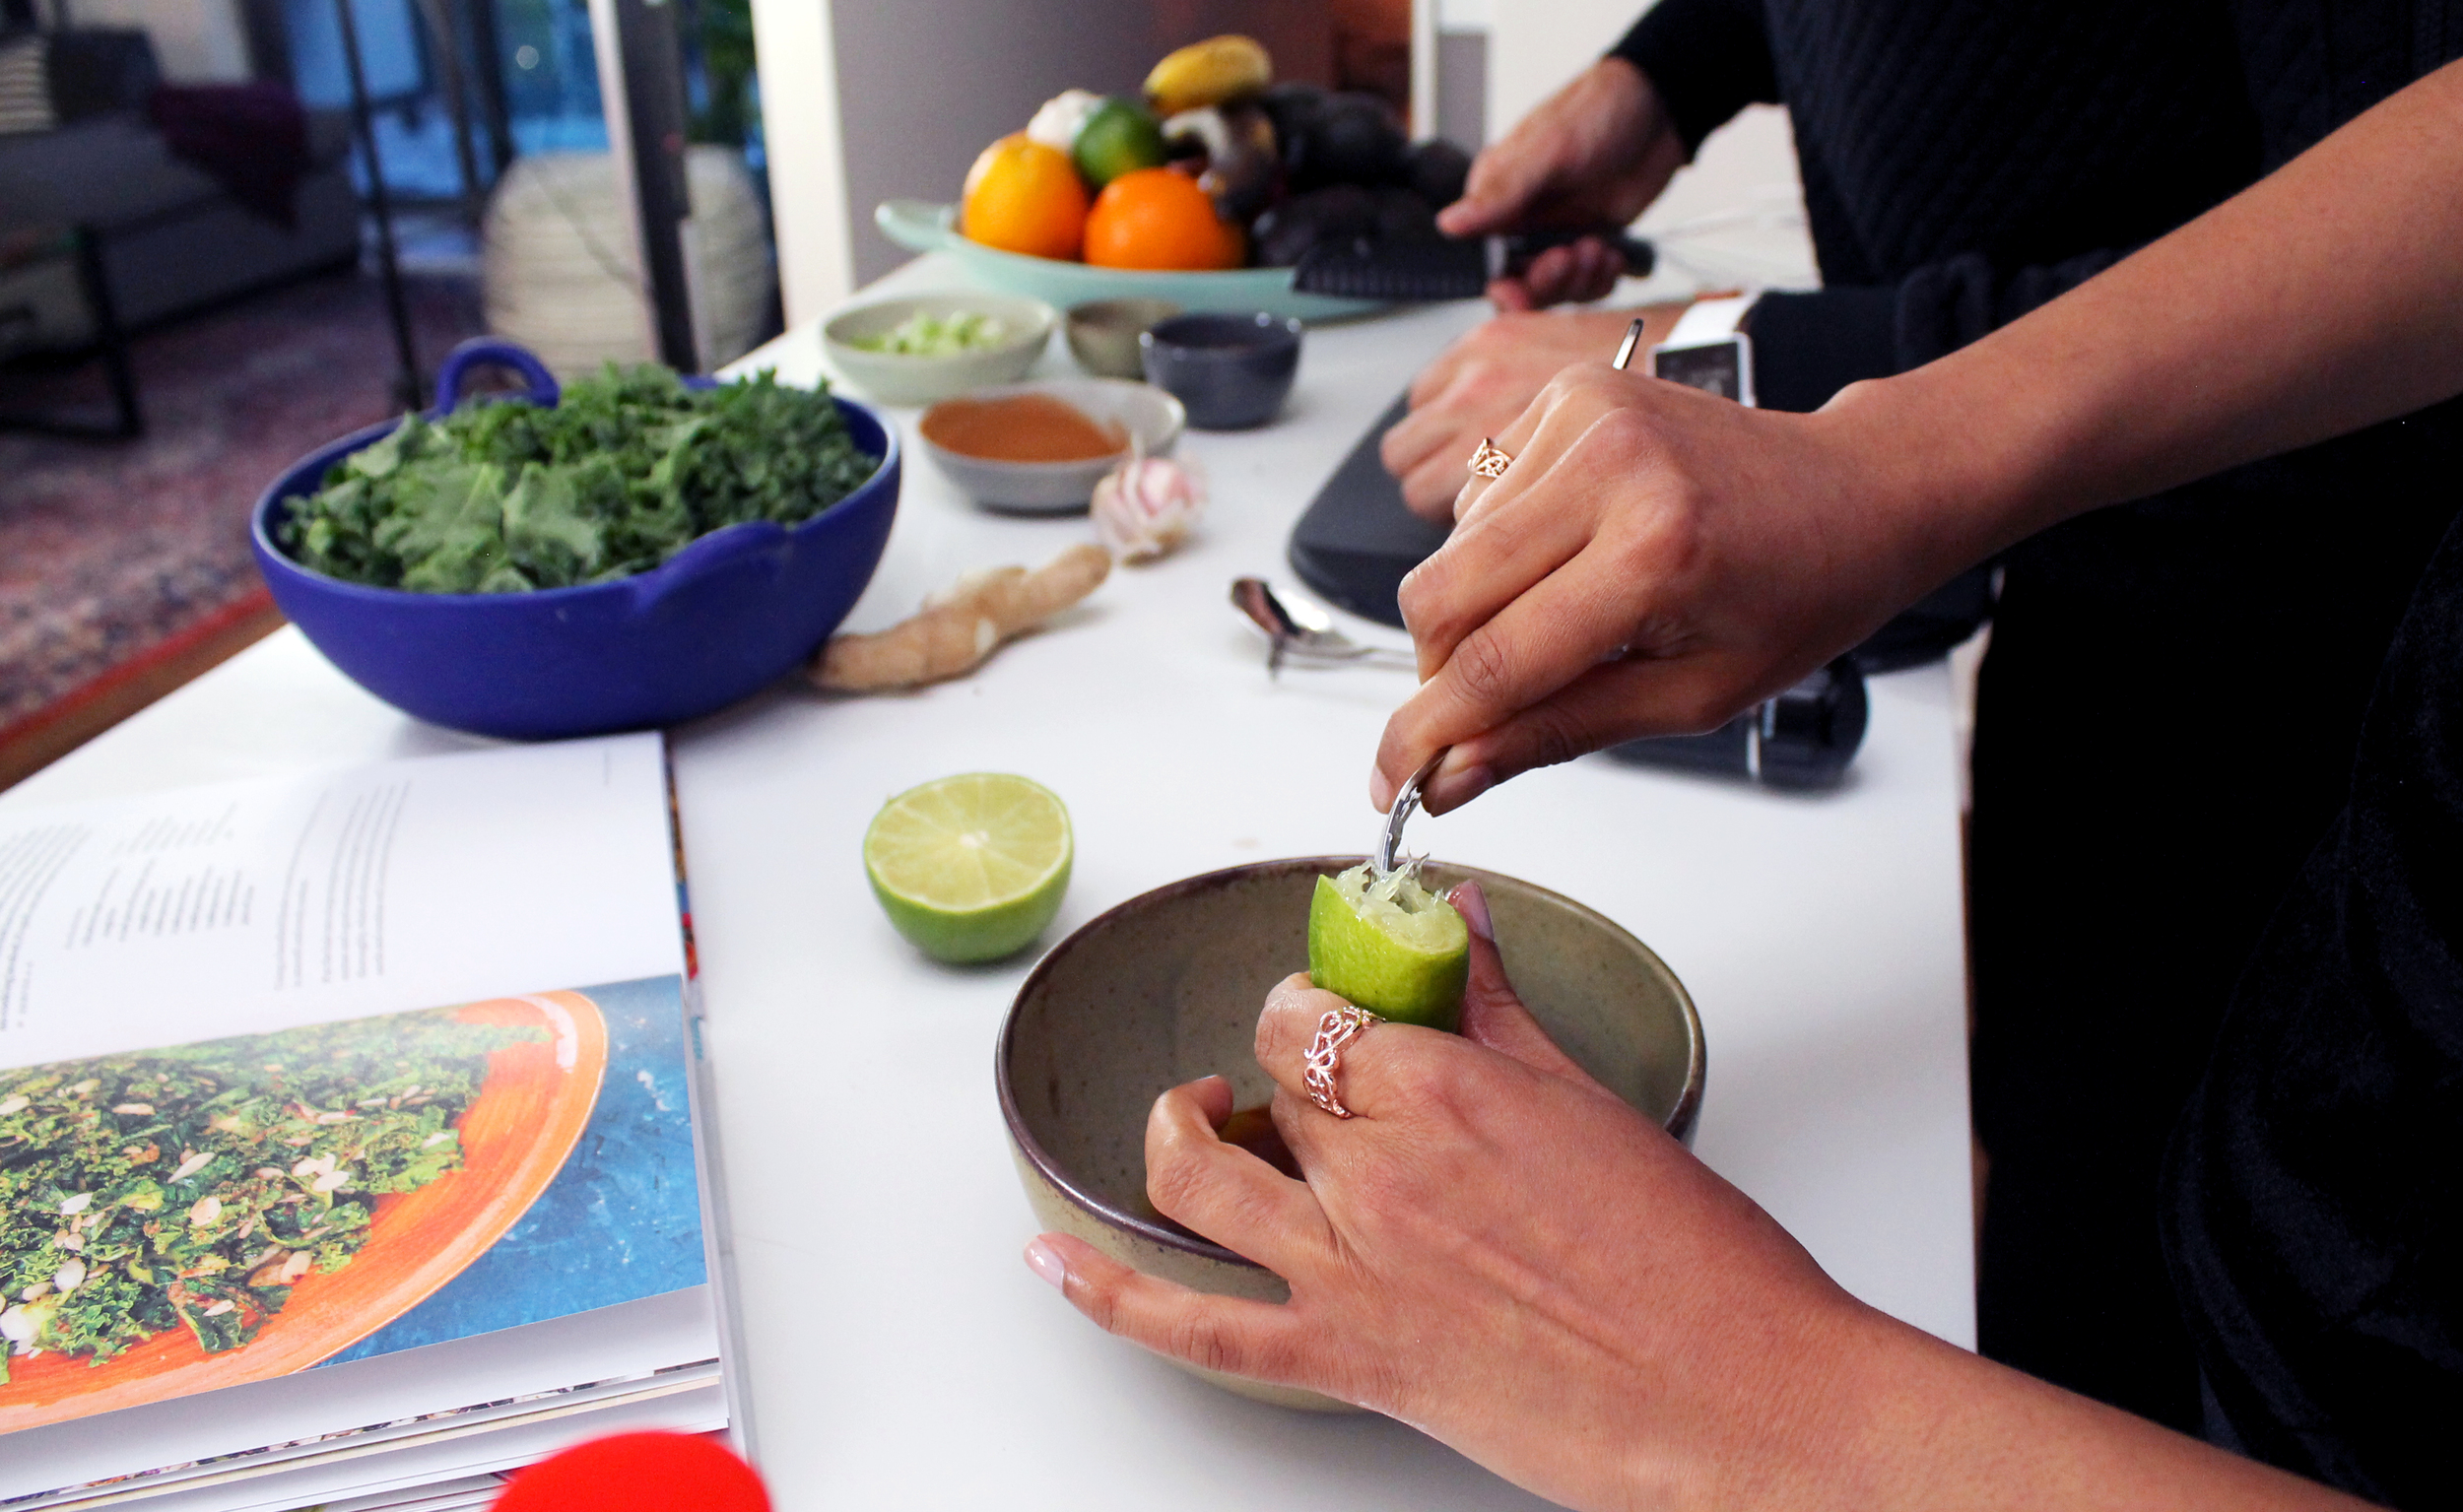
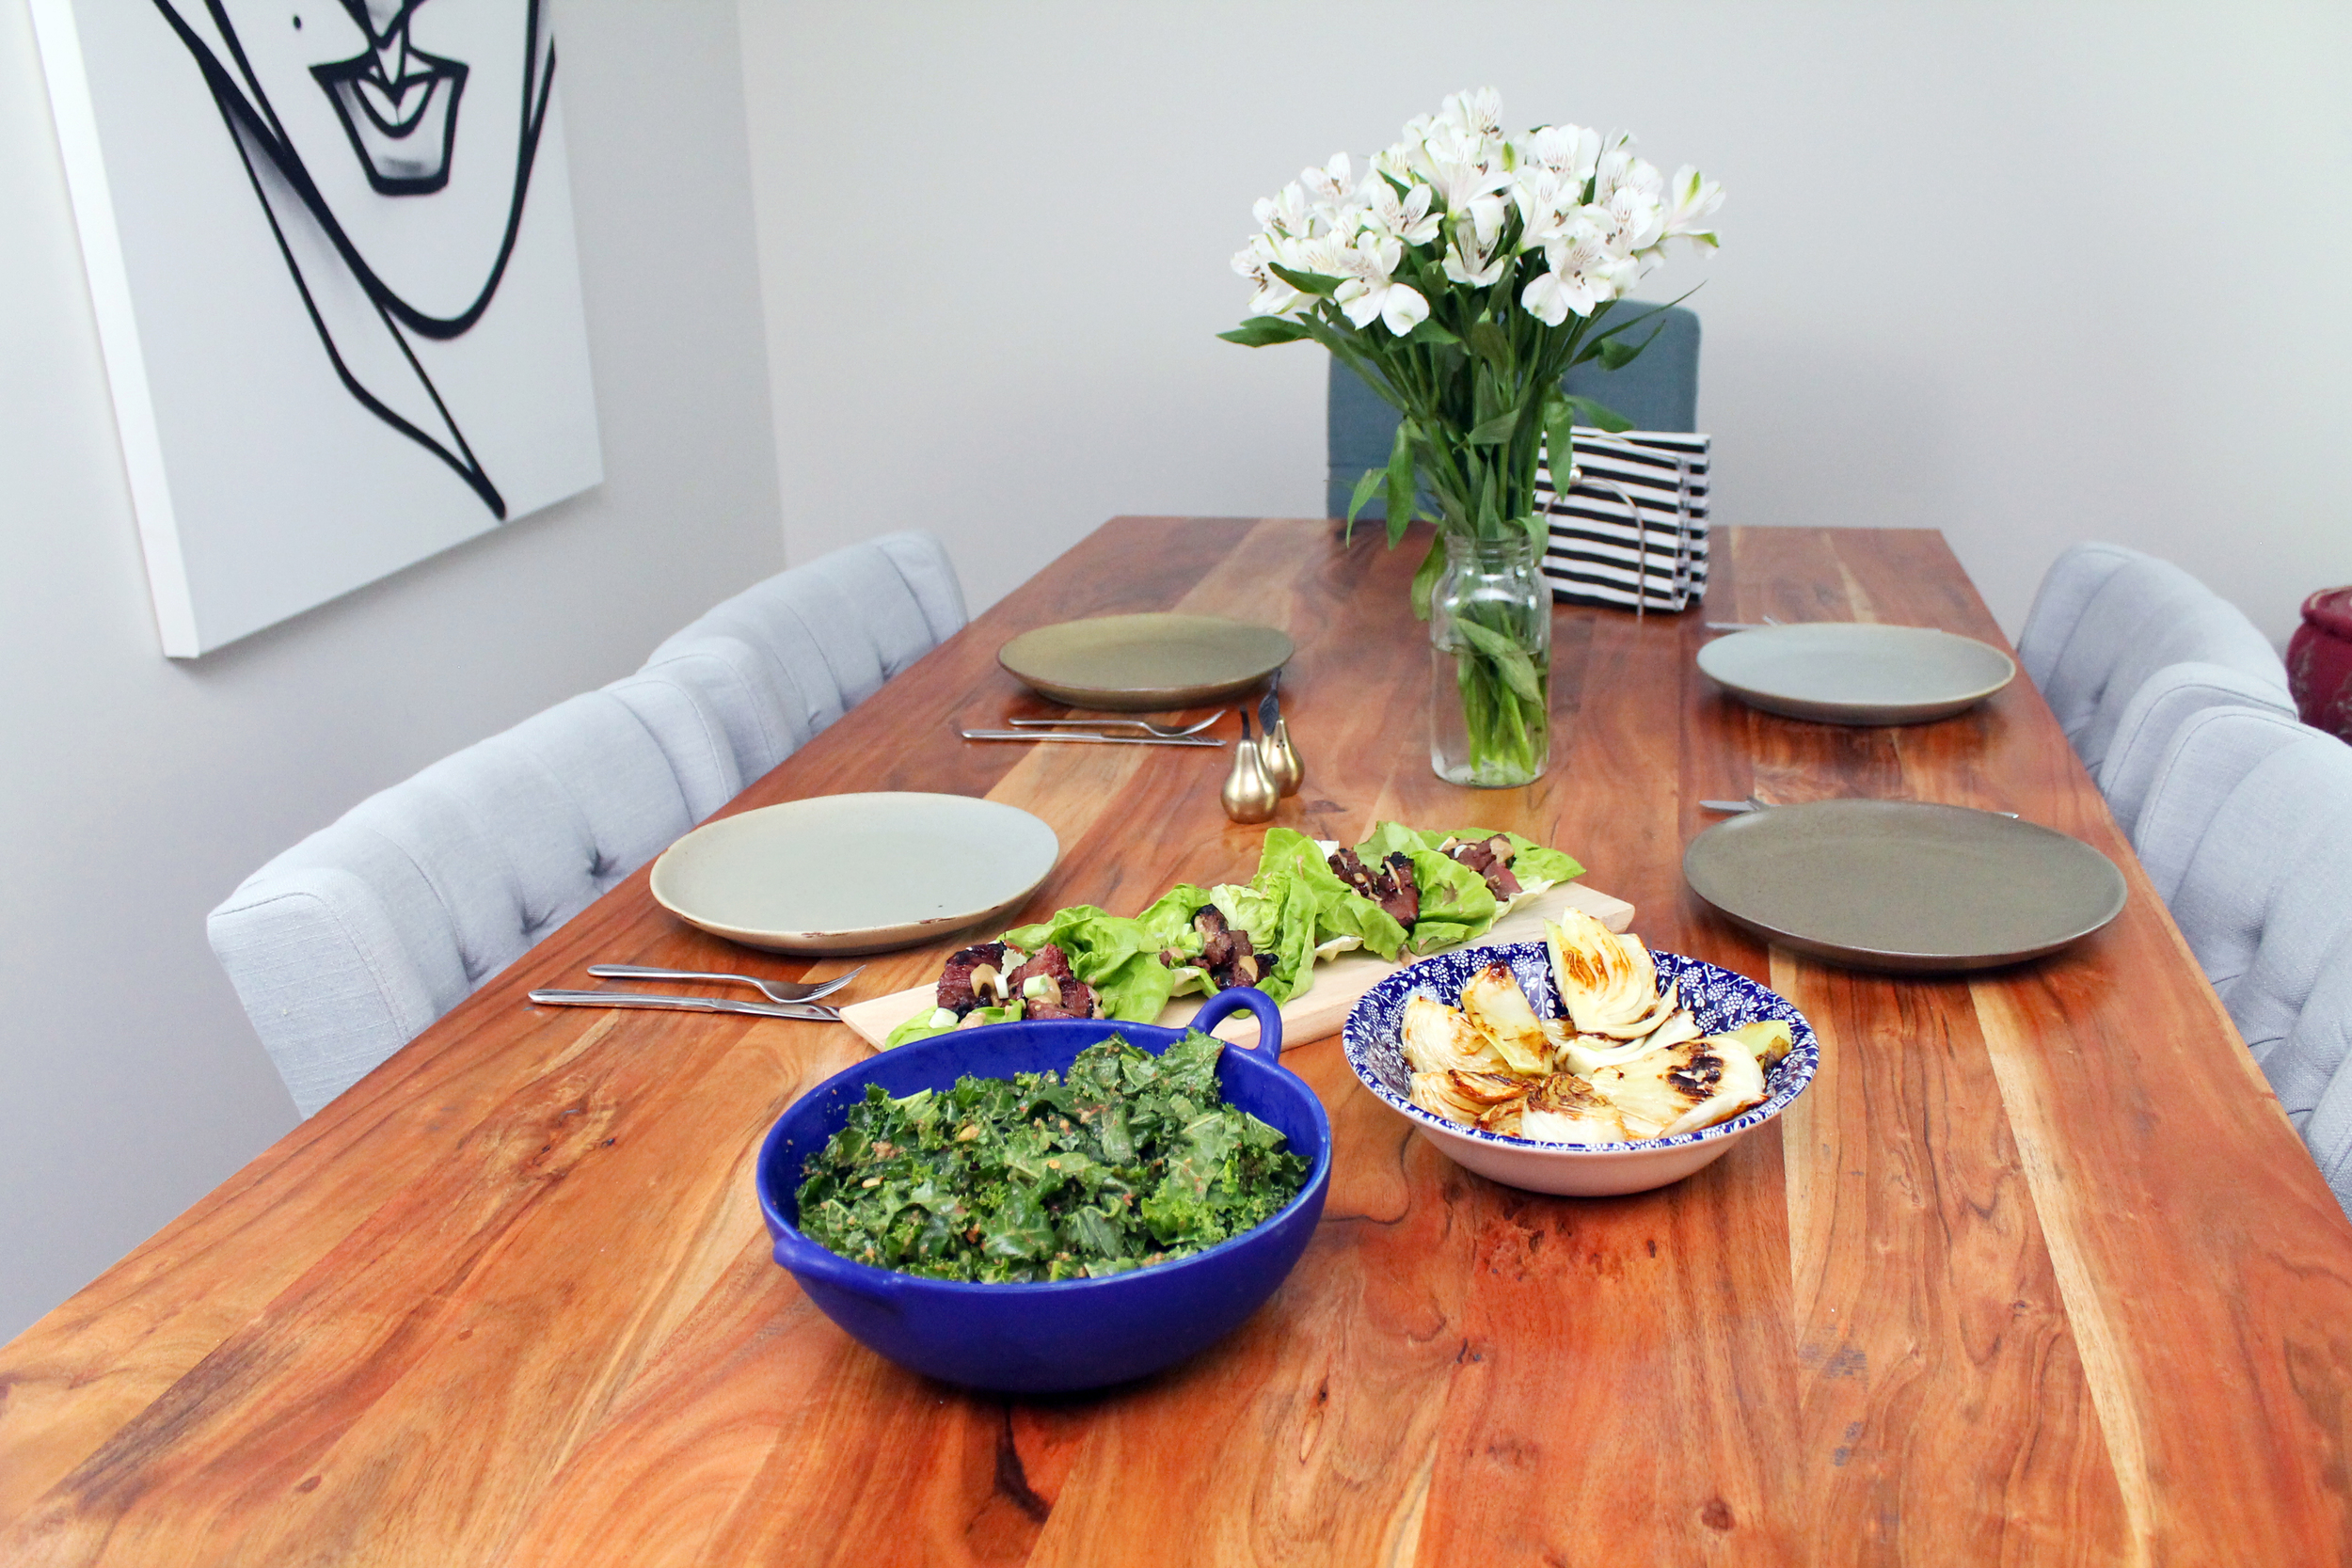
This is a nice salad to accompany a main course. We served it with the rice bowl above, but I think it would go great with grilled beef or chicken. Love & Lemons is not a vegetarian or vegan book but the recipes are organized by vegetable and so it lends itself to being a generally plant-based cookbook. At her home office appearance Jeanine explained that although she does prefer to eat veggie meals at home, she isn't necessarily a vegetarian 100% of the time. I can definitely relate to that, as I tend not to eat meat at home if I'm cooking for myself, and only really eat it if I'm cooking for friends, family, my boyfriend, or dining out.

Joella, social media manager and the person who keeps my head on straight, caught in the background working the Snap Chat
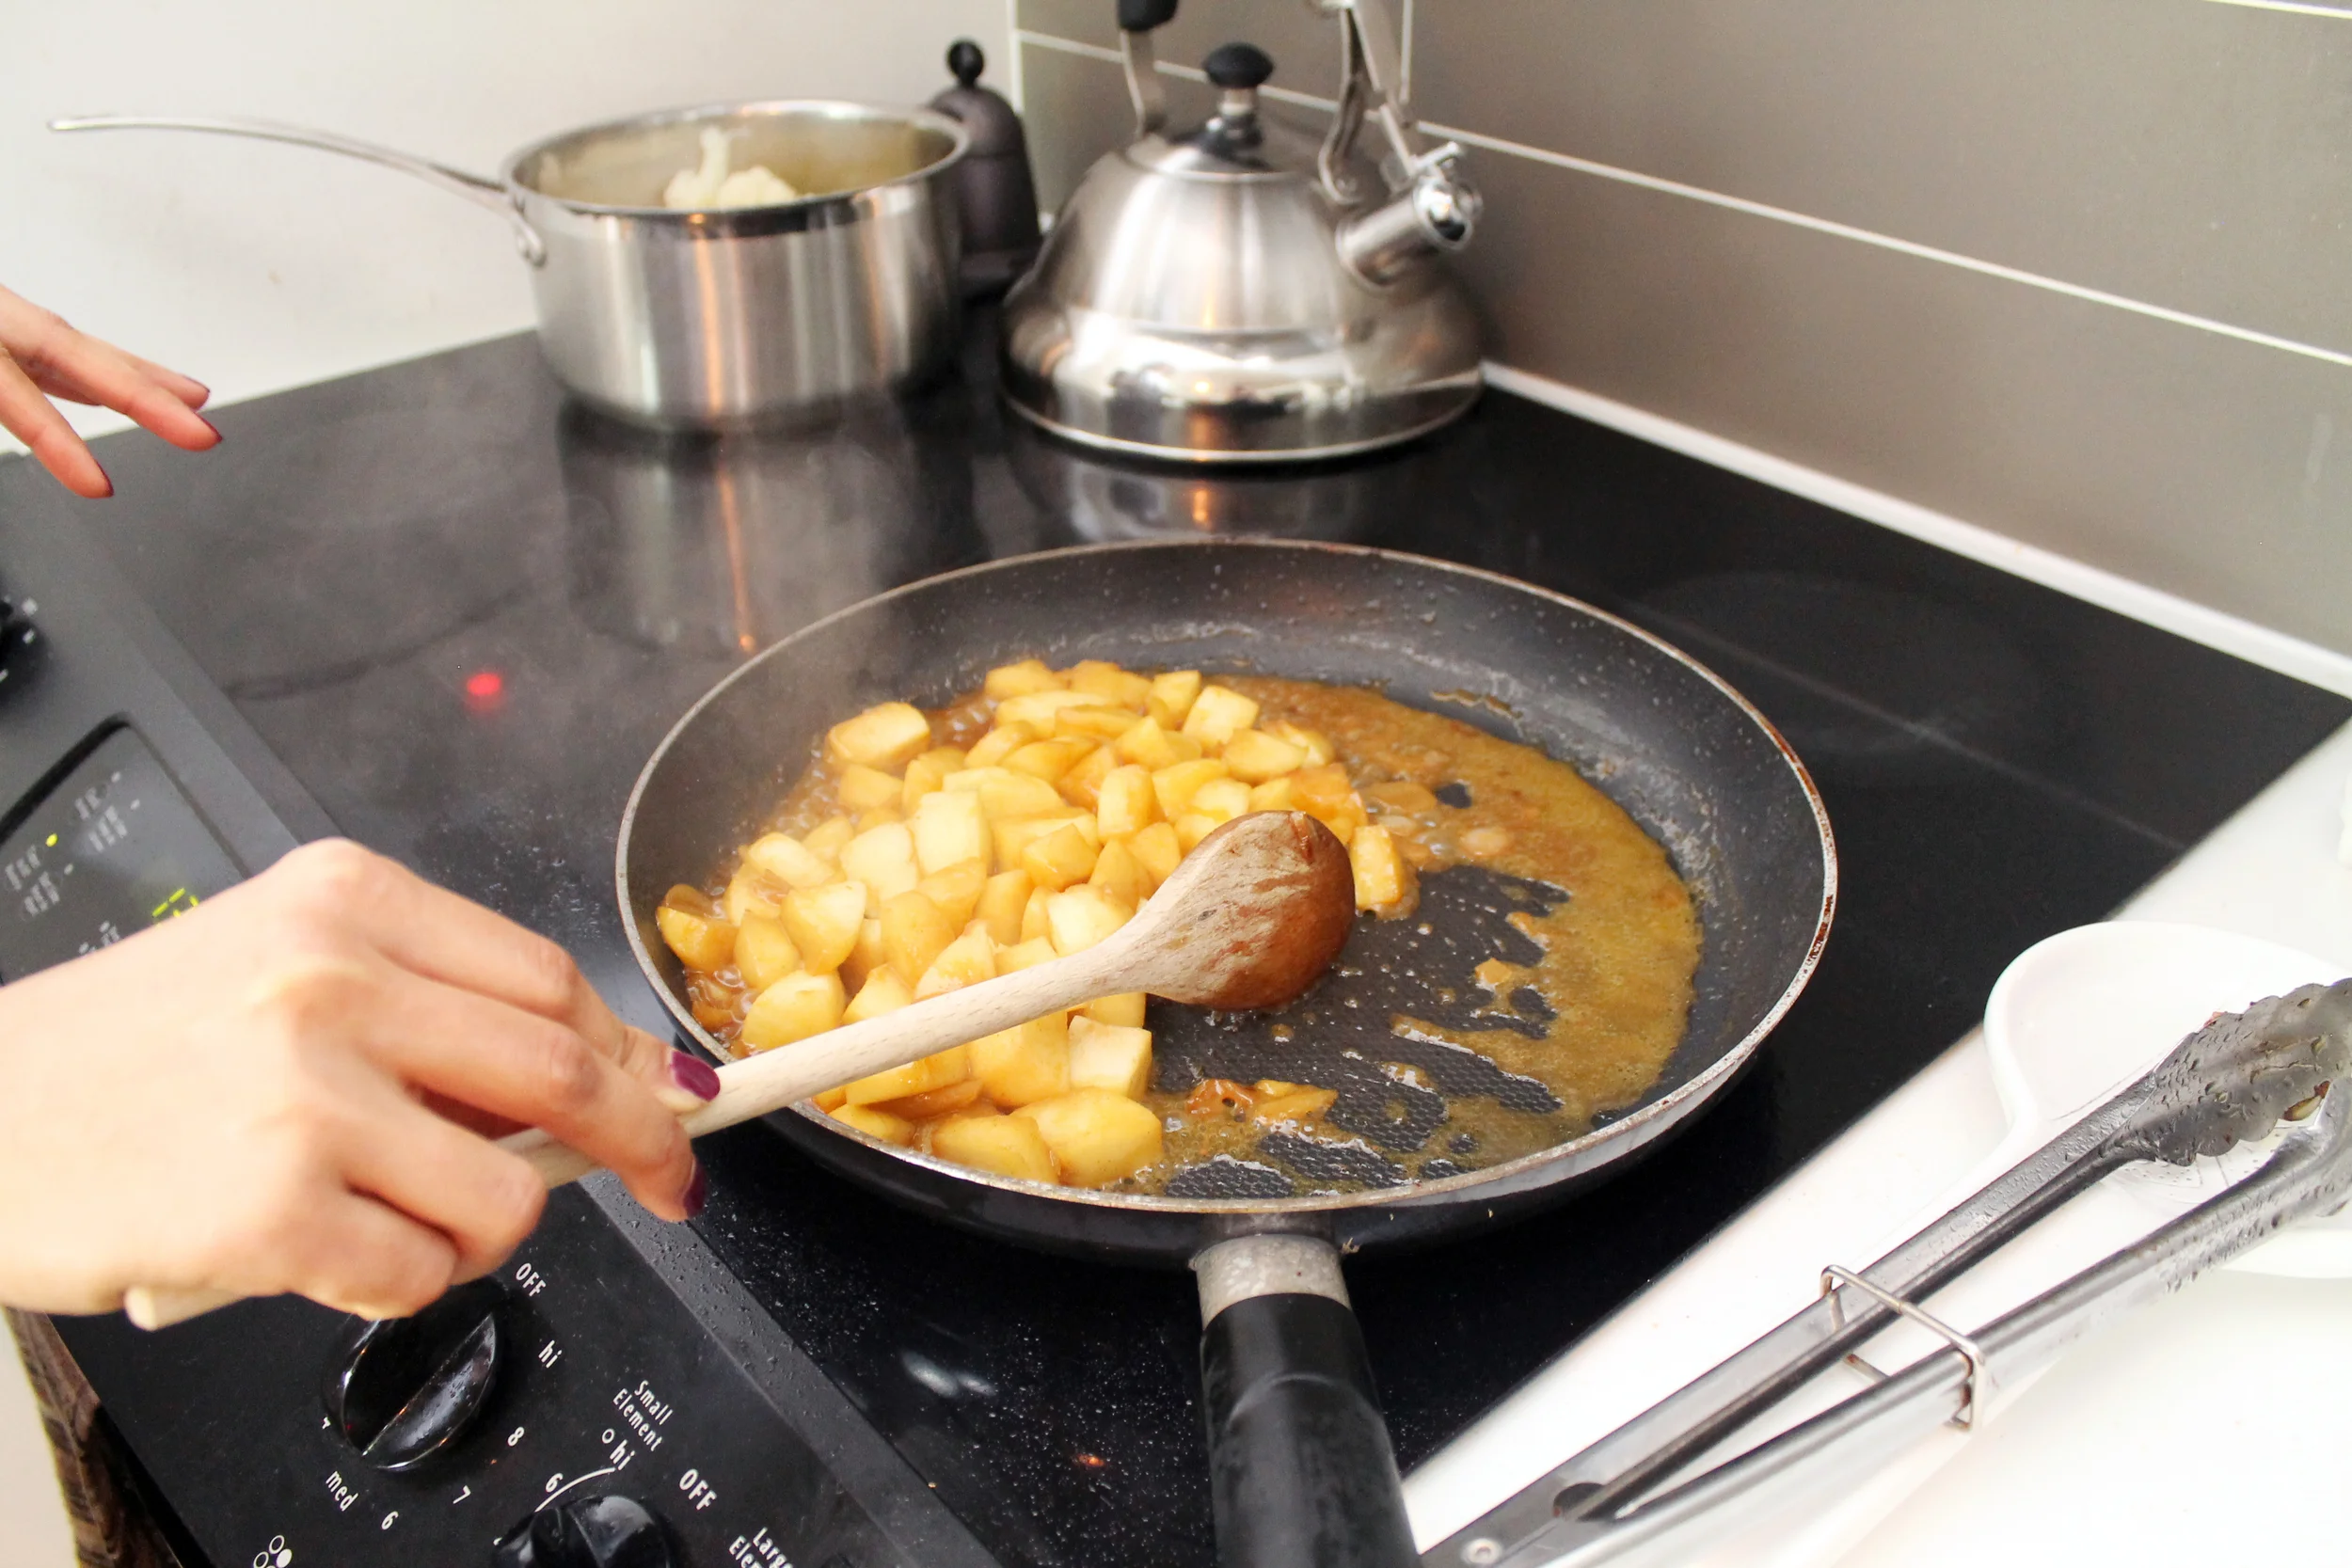
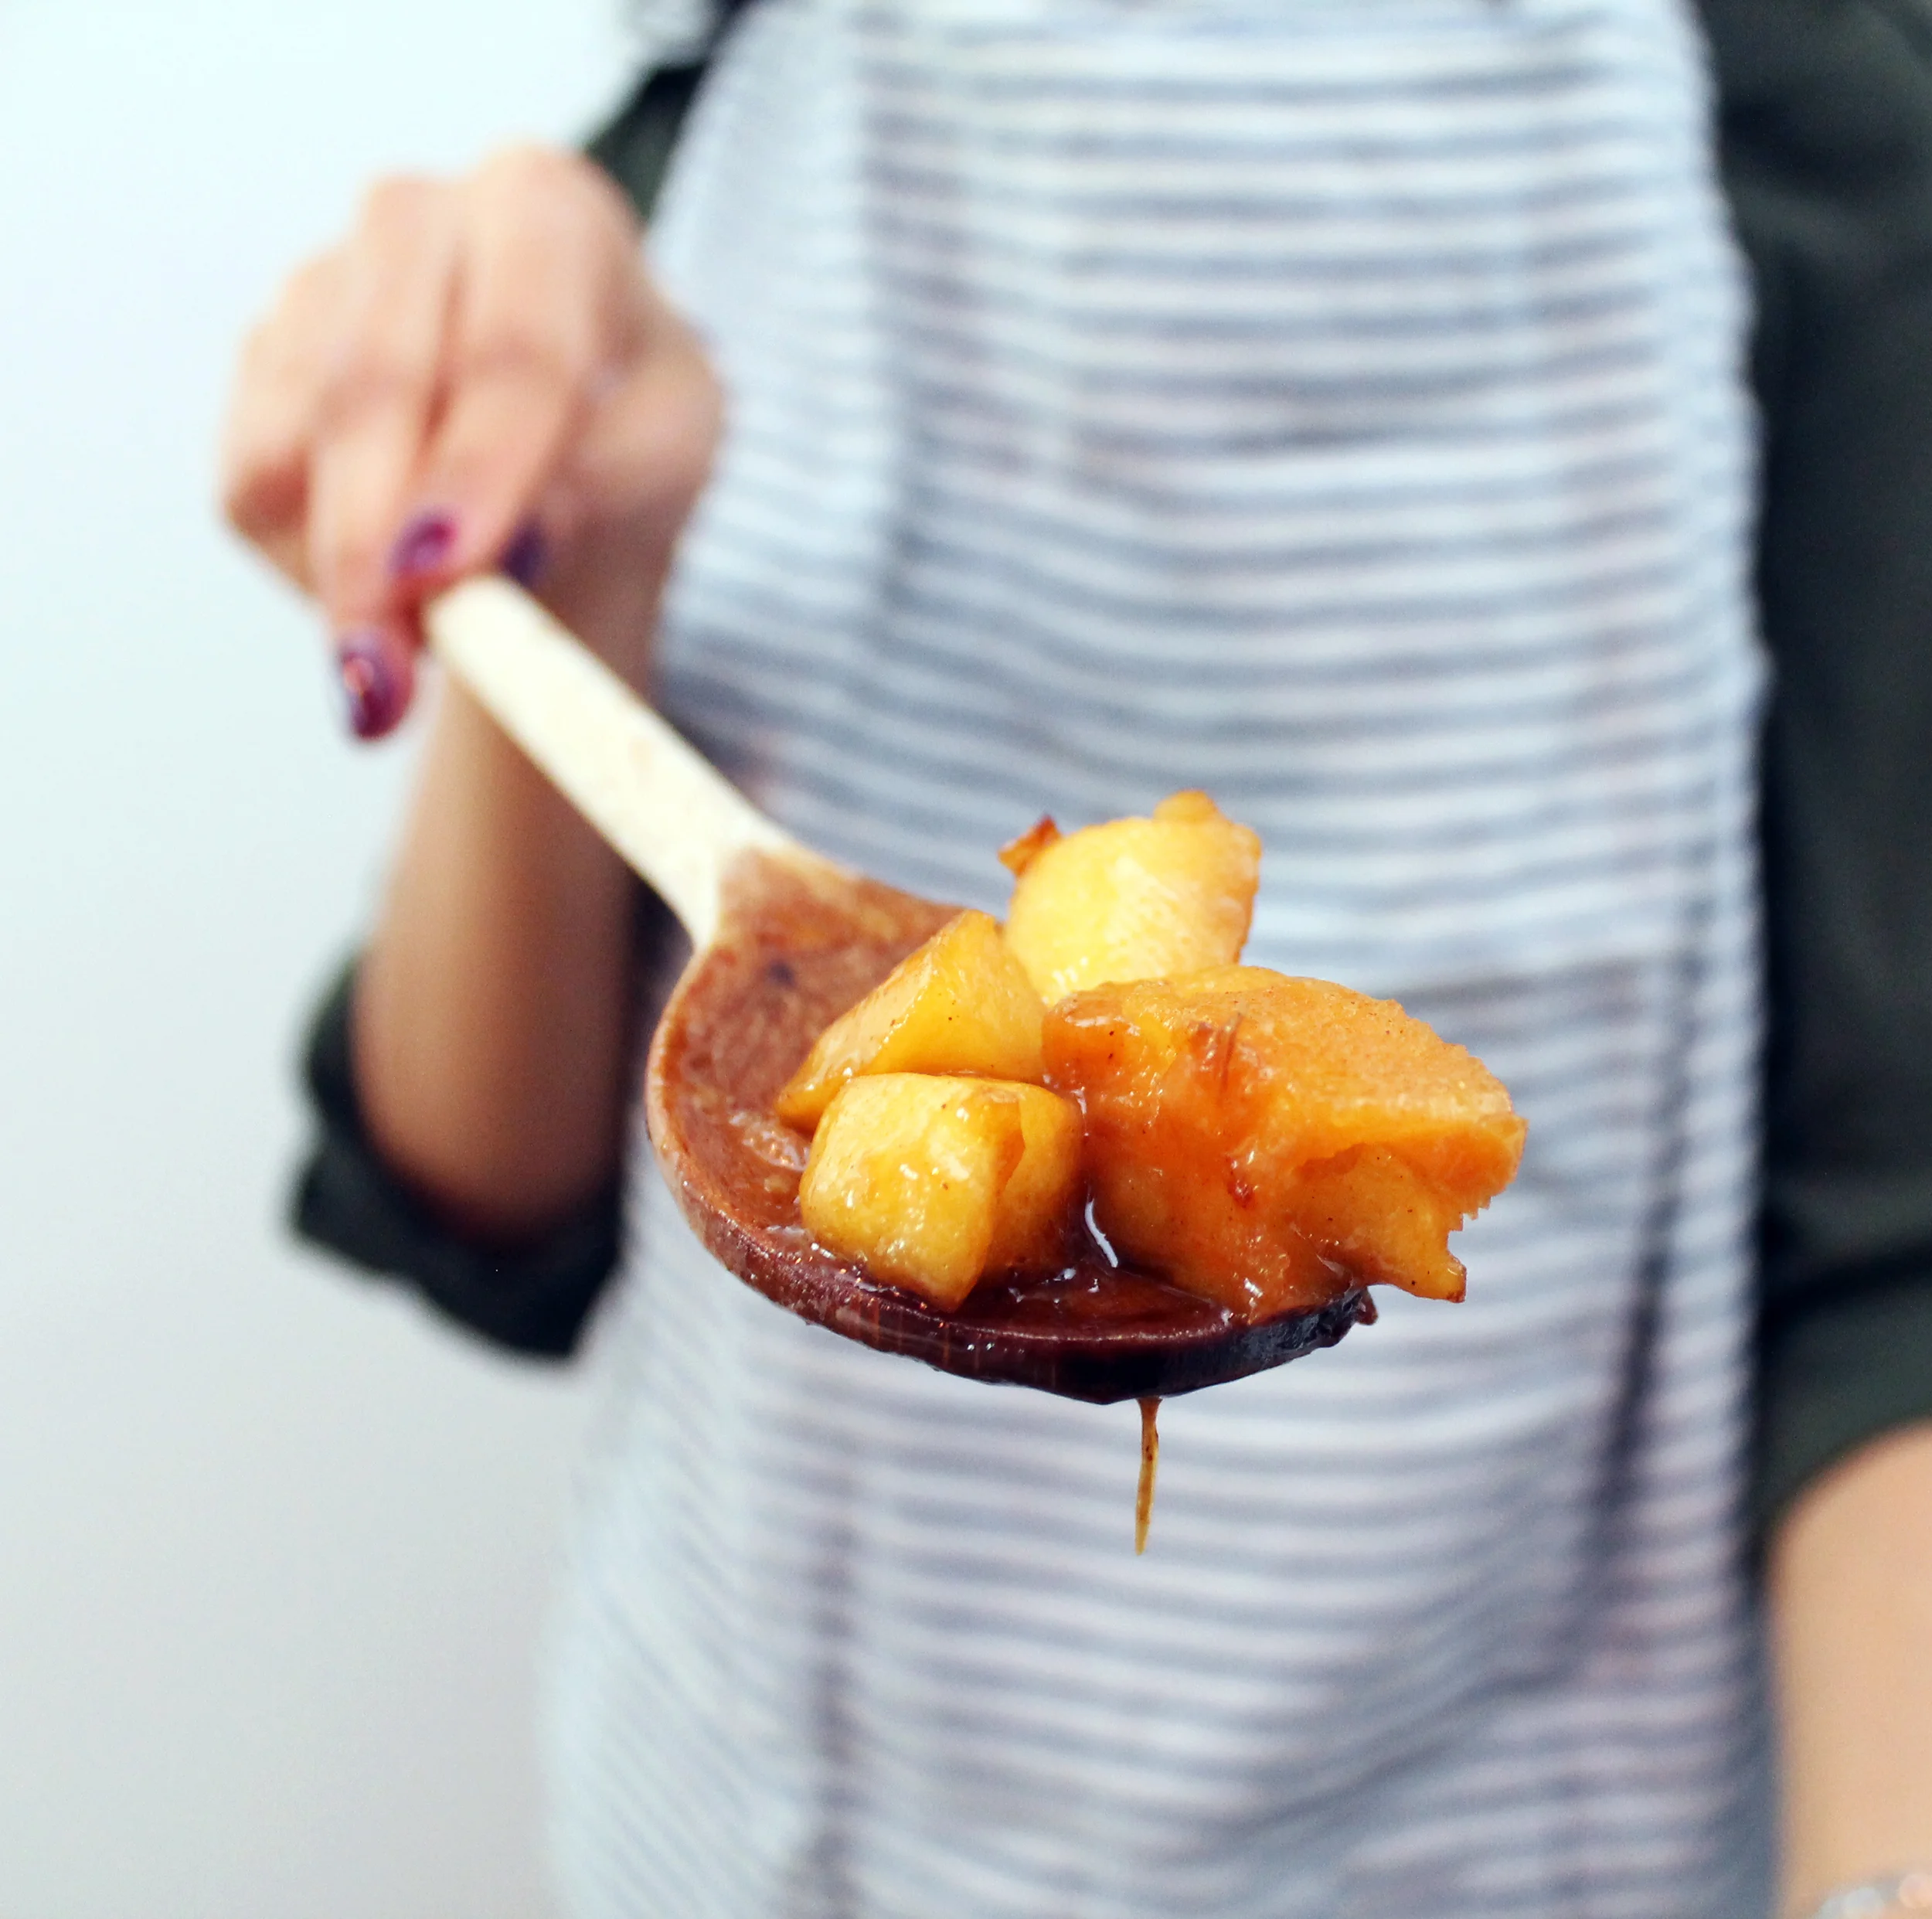
This salad consisted of several vegetables and an apple roughly diced, then tossed in a lime and herb dressing. I notice that her style of cooking is light on oil which is such a change from my usual inclinations. I'm all about the olive oil, all the time.

Things we Loved
The book is really easy to navigate as it is organized by fruit/vegetable. You can easily see what you have in your fridge, look it up in the book, and plan a meal around it. In that sense it's very practical.
The recipes are all easy. Even Karrie, who is definitely a beginner and, when handed a sharp knife audibly whined and said "BUT GUYS I DON'T KNOW HOW TO COOK", managed to make this meal in an hour without the loss of any fingers or eyelashes.
Health is front and centre. This is not a diet book by any means but it is definitely an aspirational way to eat.
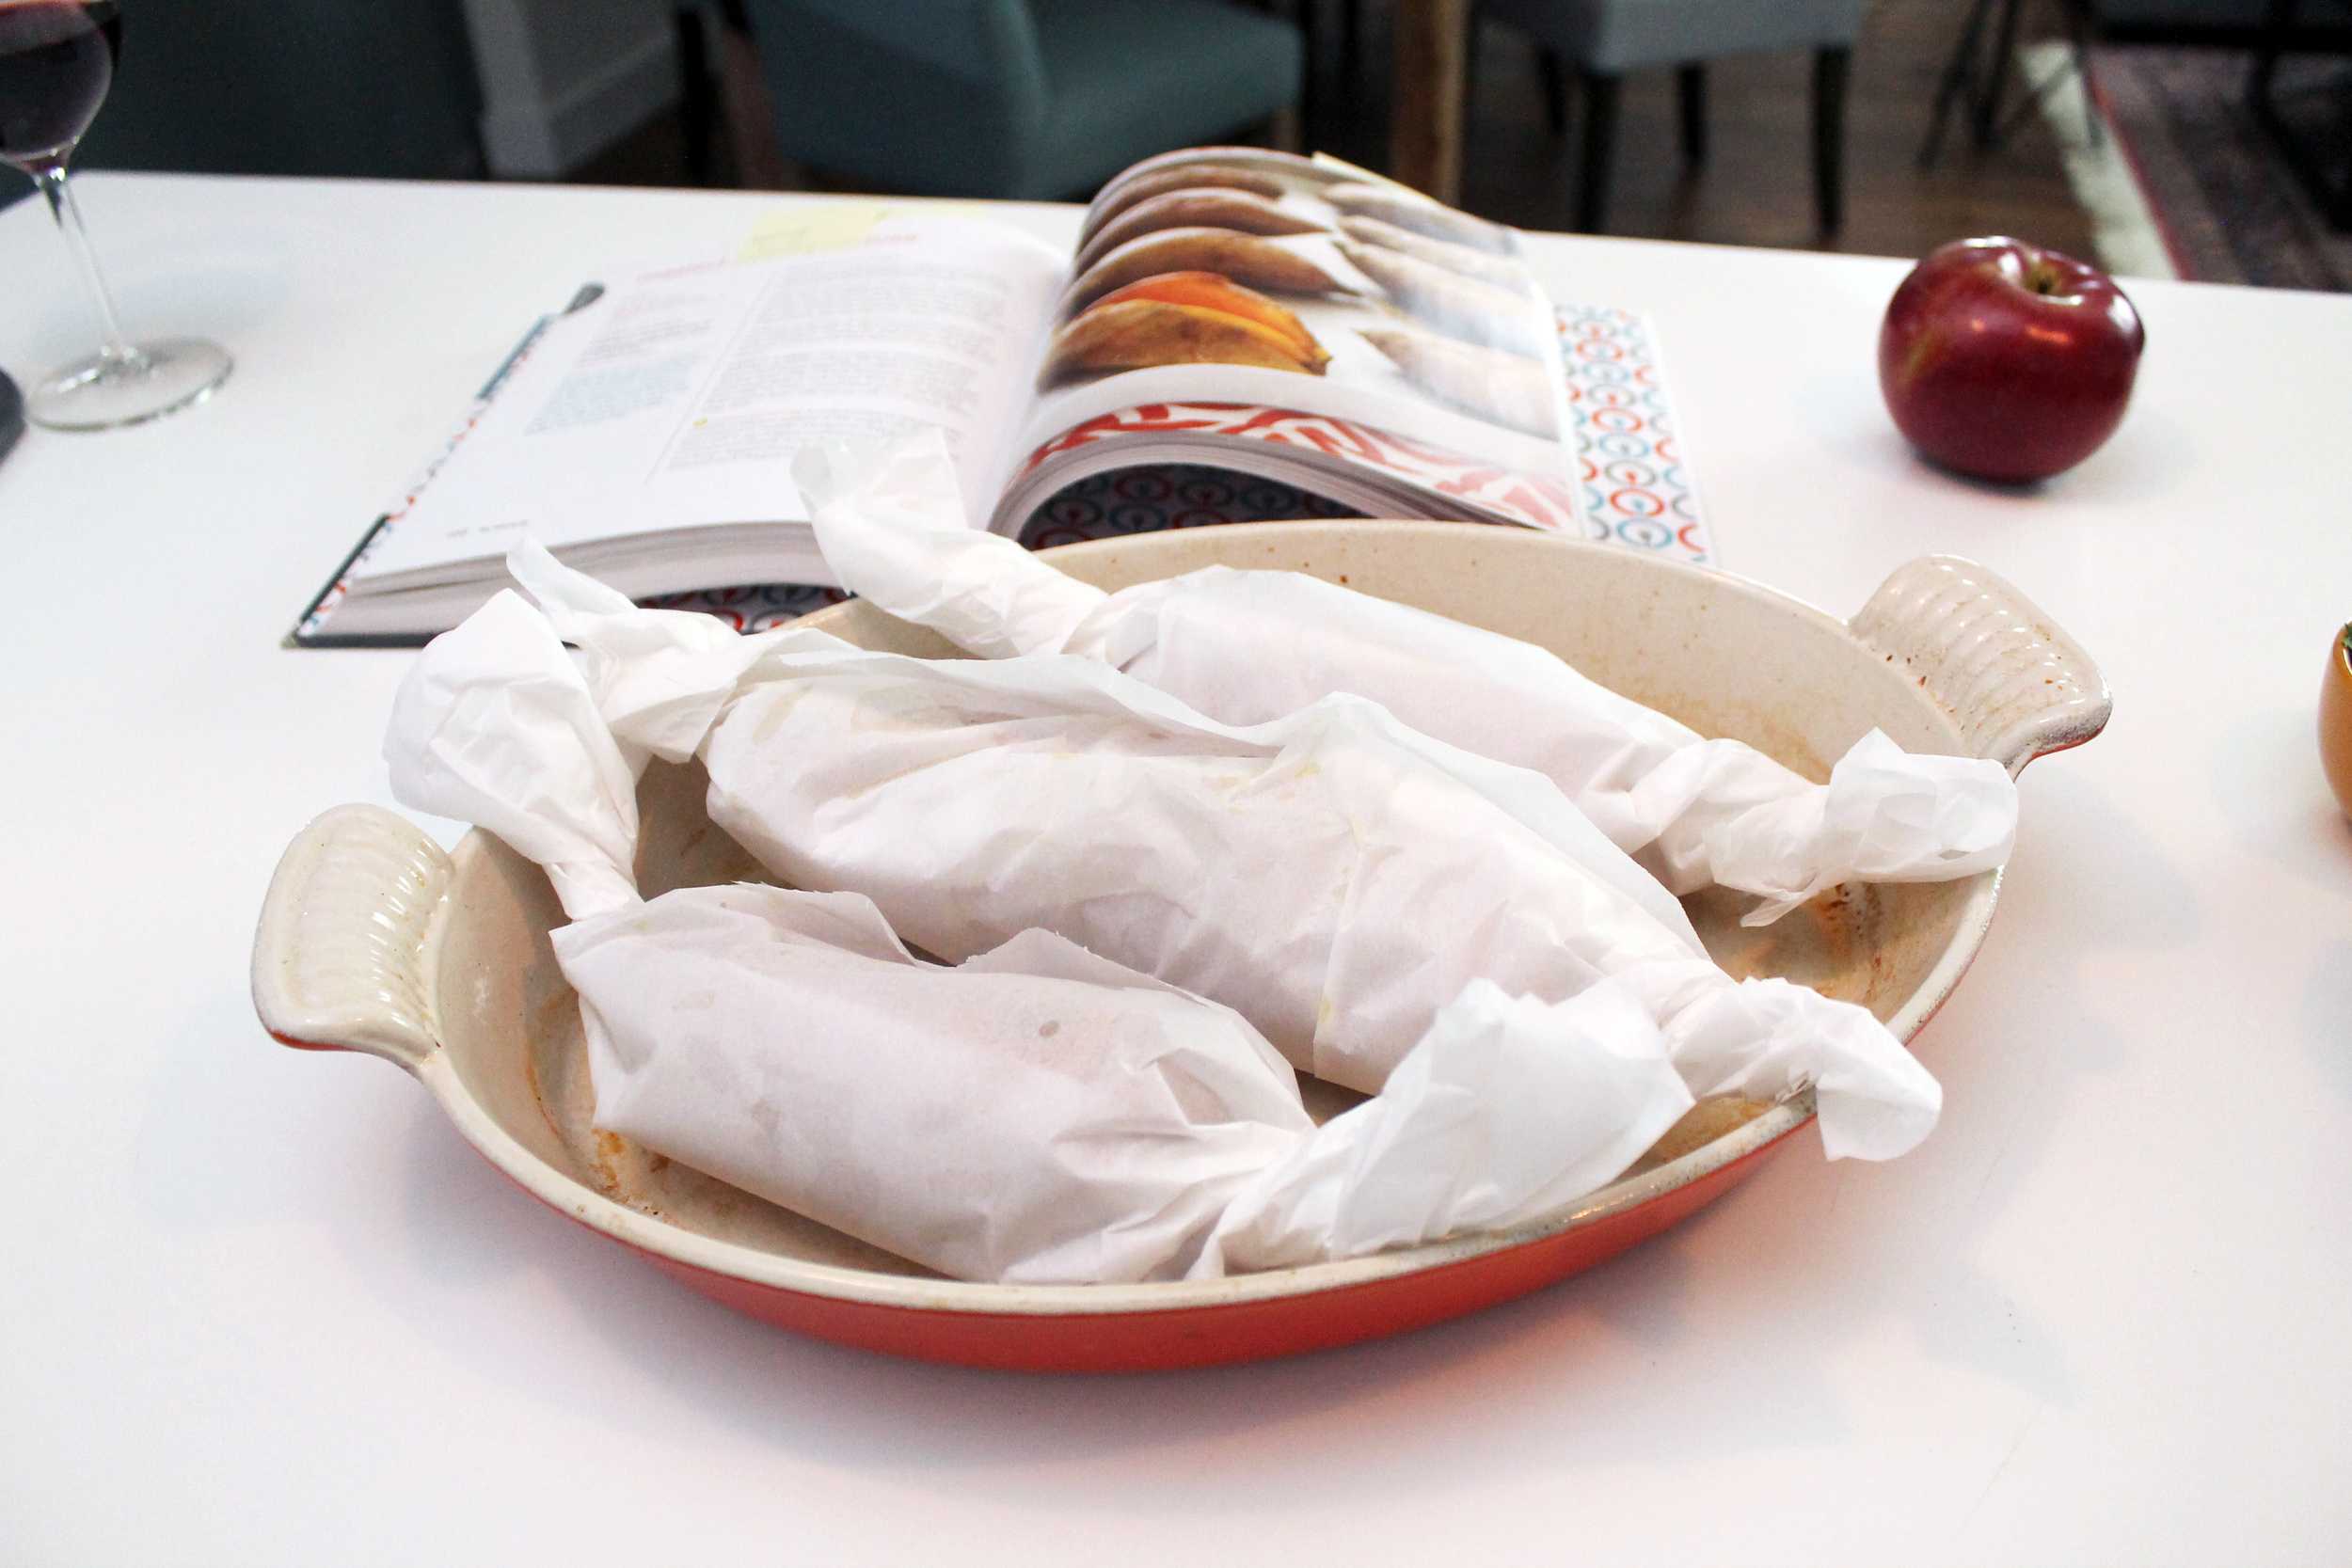
The photography is stunning and will make you crave all the fruits and veggies! And Jeanine did it all herself. So how do ya like them apples?

Allergy Rating
I can't honestly say that the recipes are super friendly towards allergies, specifically the top 8 allergens. There are a lot of legumes, nuts, cheese, and eggs throughout the book. However I did find that ingredients were simple enough to substitute so it was not limiting. If you know your typical ingredients to sub in, you should be fine.
You can pick up your copy of the book here
Happy cooking!